🔄 Migration


Migrating from Internal to External LiteLLM
Previous versions of Open WebUI ran litellm internally. To improve modularity and flexibility, we recommend running litellm in its own dedicated container. This guide will walk you through the migration process.
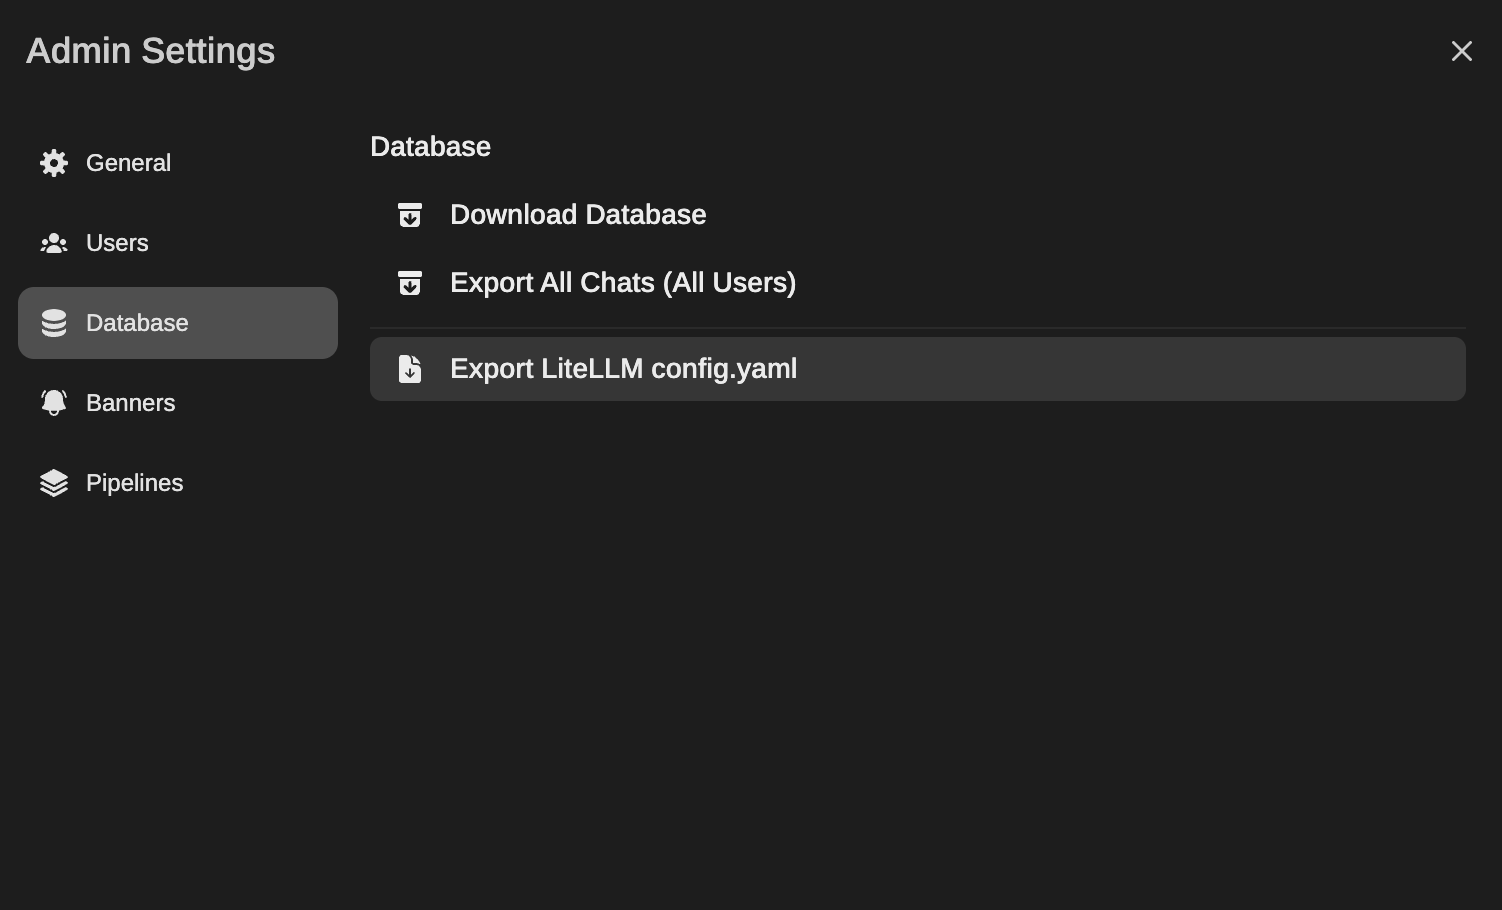
1. Download Your config.yaml File
Before making any changes, download your existing config.yaml file from the Open WebUI Admin Settings window. This file contains your current litellm configuration.
2. Run a Standalone litellm Container
Use the following docker run command to launch a dedicated litellm container:
docker run -d \
  -p 4000:4000 \
  --name litellm \
  -v ./config.yaml:/app/config.yaml \
  -e LITELLM_MASTER_KEY=your_secret_key \
  --restart always \
  ghcr.io/berriai/litellm:main-latest \
  --config /app/config.yaml --port 4000
- Replace
./config.yamlwith the actual path to the downloadedconfig.yamlfile. - Set a secure API key for
LITELLM_MASTER_KEY. This ensures controlled access to yourlitellminstance.
3. Connect litellm to Open WebUI
Once the litellm container is up and running:
- Go to the Open WebUI settings.
- Under "Connections," add a new "OpenAI" connection.
- Set the Base URL to
http://host.docker.internal:4000/v1(adjust the port if necessary). - For the API Key, use the
LITELLM_MASTER_KEYvalue you defined in step 2 (e.g.,your_secret_key).
Congratulations! You've successfully migrated to an external litellm setup, enhancing the flexibility and maintainability of your Open WebUI installation.
Migrating your contents from Ollama WebUI to Open WebUI
Given recent name changes from Ollama WebUI to Open WebUI, the docker image has been renamed. Additional steps are required to update for those people that used Ollama WebUI previously and want to start using the new images.
Updating to Open WebUI without keeping your data
If you want to update to the new image but don't want to keep any previous data like conversations, prompts, documents, etc. you can perform the following steps:
Performing these steps will erase all your current configuration options, chat history, etc. Only LLM Models will be preserved
docker rm -f ollama-webui
docker pull ghcr.io/open-webui/open-webui:main
[insert the equivalent command that you used to install with the new Docker image name]
docker volume rm ollama-webui
For example, for local installation it would be docker run -d -p 3000:8080 --add-host=host.docker.internal:host-gateway -v open-webui:/app/backend/data --name open-webui --restart always ghcr.io/open-webui/open-webui:main. For other installation commands, check the relevant parts of this README document.
Updating to Open WebUI while keeping your data
If you want to update to the new image migrating all your previous settings like conversations, prompts, documents, etc. you can perform the following steps:
docker rm -f ollama-webui
docker pull ghcr.io/open-webui/open-webui:main
# Creates a new volume and uses a temporary container to copy from one volume to another as per https://github.com/moby/moby/issues/31154#issuecomment-360531460
docker volume create --name open-webui
docker run --rm -v ollama-webui:/from -v open-webui:/to alpine ash -c "cd /from ; cp -av . /to"
[insert the equivalent command that you used to install with the new Docker image name]
Once you verify that all the data has been migrated you can erase the old volume using the following command:
docker volume rm ollama-webui
Coming from a local Git repository
If you came from a git installation where you used docker compose up in the project directory, your volumes will be prefixed with the folder name.
Therefore, if your OpenWebUI path was: /home/myserver/ollama-webui/, the volumes would be named "ollama-webui_open-webui" and "ollama-webui_ollama".
To copy the contents over to a conventional docker installation, you may run similar migration commands. In our particular case, the commands would be:
docker rm -f open-webui
docker rm -f ollama
docker pull ghcr.io/open-webui/open-webui:main
docker pull ghcr.io/open-webui/open-webui:ollama
docker volume create --name open-webui
docker volume create --name ollama
docker run --rm -v ollama-webui_open-webui:/from -v open-webui:/to alpine ash -c "cd /from ; cp -av . /to"
docker run --rm -v ollama-webui_ollama:/from -v ollama:/to alpine ash -c "cd /from ; cp -av . /to"
Depending on whether you had ollama installed, or already had the same volume names in place, some of the commands might throw errors, but they can usually be safely ignored since we're overwriting.
Then, start both containers as usual, as described in the Getting started guide.
Once you verify that all the data has been migrated you can erase the old volume using the command docker volume rm mentioned above.