Keycloak Integration
This tutorial is a community contribution and is not supported by the Open WebUI team. It serves only as a demonstration on how to customize Open WebUI for your specific use case. Want to contribute? Check out the contributing tutorial.
This guide explains how to integrate Open WebUI with Keycloak for OIDC Single Sign-On (SSO).
1. Environment Preparation and Port Change
Open WebUI Server Port
- Default Port:
8080
Keycloak Port Conflict Issue
Keycloak also uses port 8080 by default, which causes a conflict. Change the Keycloak port to 9090.
bin/kc.sh start-dev --http-port=9090
2. Create a Keycloak Realm
- Open your browser and go to
http://localhost:9090. Create an administrator account. - Log in to the admin console at
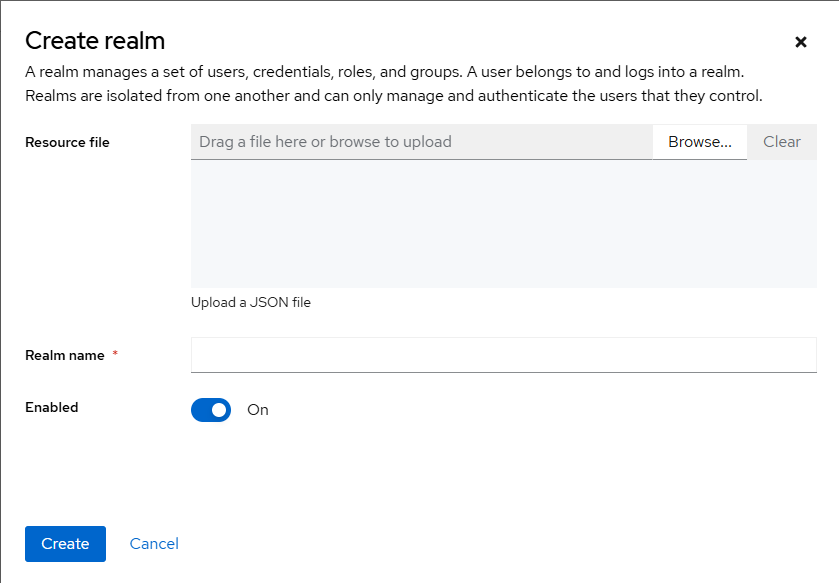
http://localhost:9090/admin. - From the realm dropdown at the top, click Add realm.
- Enter
openwebuias the Realm name and click Create.
3. Create an OpenID Connect Client
Make sure you have selected the openwebui realm. The default is master.
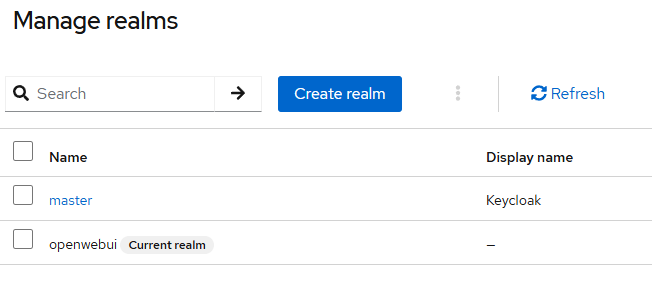
- Ensure the
openwebuirealm you just created is selected. - In the left menu, click Clients → Create client.
- Set Client ID to
open-webui. - Keep Client protocol as
openid-connect. - Set Access Type to
confidentialand click Save.
4. Enable Client Authentication and Get Credentials
By default, Keycloak 26.x sets Client Authentication to "None", so it needs to be configured manually.
- Go to Clients → open-webui → Settings.
- Check the Client Authenticator dropdown.
- Change "None" to Client ID and secret and click Save.
- Click the Advanced tab.
- In the Client authentication section, click Reveal secret and copy the secret.
- Paste this secret into the
OAUTH_CLIENT_SECRETvariable in your.envfile.
5. Create a Test User
- In the left menu, go to Users → Add user.
- Fill in the Username, Email, etc., and click Save.
- Click on the newly created user, then go to the Credentials tab.
- Enter a new password, uncheck Temporary, and click Set Password.
- Example: Username
testuser, PasswordTest1234!
- Example: Username
6. Configure Open WebUI .env
Add or modify the following variables in your .env file.
# Enable OAuth2/OIDC Login
ENABLE_OAUTH_SIGNUP=true
# Keycloak Client Information
OAUTH_CLIENT_ID=open-webui
OAUTH_CLIENT_SECRET=<YOUR_COPIED_SECRET>
# OIDC Discovery Document URL
OPENID_PROVIDER_URL=http://localhost:9090/realms/openwebui/.well-known/openid-configuration
# (Optional) SSO Button Label
OAUTH_PROVIDER_NAME=Keycloak
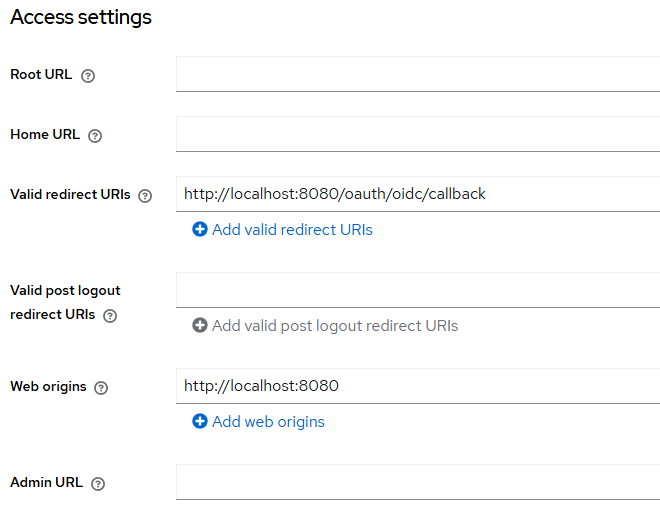
# (Optional) OAuth Callback URL
OPENID_REDIRECT_URI=http://localhost:8080/oauth/oidc/callback
Restart the Open WebUI server after modifying the .env file.
7. HTTP vs. HTTPS
- HTTP (Development/Test):
- Scheme:
http:// - Example:
http://localhost:9090
- Scheme:
- HTTPS (Production Recommended):
- Requires Keycloak TLS setup or a reverse proxy with SSL termination.
bin/kc.sh start --https-port=9090 \
  --https-key-store=keystore.jks \
  --https-key-store-password=<password>
8. Test the Integration
- Go to
http://localhost:8080. You should see a "Continue with Keycloak" button. - Click the button. You should be redirected to the Keycloak login page.
- Log in with
testuser/Test1234!. You should be successfully redirected back to Open WebUI.
9. Configure Keycloak Group Mapping
9.1. Overview
By default, Keycloak clients do not include group information in tokens. Follow these steps to pass group information.
9.2. Locate Mapper Creation
-
Go to the Keycloak Admin Console:
http://localhost:9090/admin. -
Select the
openwebuirealm. -
Navigate to Clients and select the
open-webuiclient. -
Go to the Client scopes tab.
-
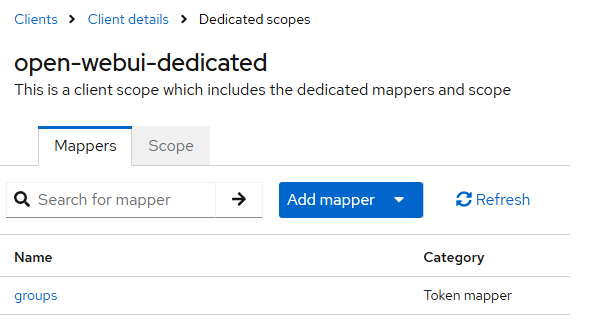
Select the scope that will contain the group information (e.g.,
profileoropen-webui-dedicated).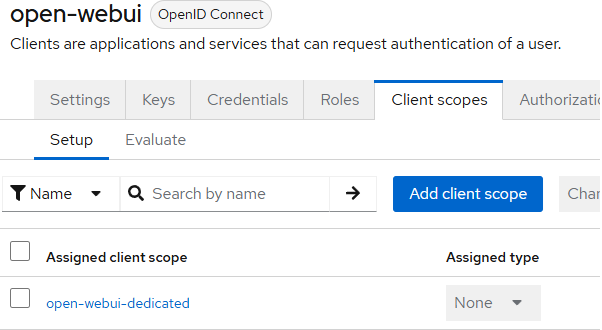
-
In the selected scope's details, go to the Mappers tab.
9.3. Create Mapper
Click Create or Add builtin to start creating a new mapper.
9.4. Mapper Settings
Configure the mapper with the appropriate settings to include group membership.
9.5. Save and Apply
- Save the mapper configuration.
- Restart the Open WebUI server to apply the changes.
9.6. Configure Open WebUI Environment Variables
Add or modify these variables in your .env file:
# Enable group synchronization
ENABLE_OAUTH_GROUP_MANAGEMENT=true
# (Optional) Enable Just-In-Time group creation
ENABLE_OAUTH_GROUP_CREATION=true
# The claim key for groups in the token
OAUTH_GROUP_CLAIM=groups