Quick Start
Docker is the recommended path, and five steps get you to your first chat. Podman, Kubernetes, Swarm, WSL and the other routes are under More install methods.
Open WebUI works on macOS, Linux (x86_64 and ARM64, including Raspberry Pi and NVIDIA DGX Spark) and Windows.
1. Install
- Docker
- Docker Compose
- Python (pip)
- Desktop app
Requires Docker. Replace your-secret-key with the output of openssl rand -hex 32, then run the command below; it pulls the image and starts it:
docker run -d -p 3000:8080 --add-host=host.docker.internal:host-gateway -v open-webui:/app/backend/data -e WEBUI_SECRET_KEY=your-secret-key --name open-webui --restart always ghcr.io/open-webui/open-webui:main| Flag | What it does |
|---|---|
-p 3000:8080 | The UI is on port 3000 of your machine. Change the left number if 3000 is taken. |
-v open-webui:/app/backend/data | Your chats, users and settings live in this volume. It survives updates; never run without it. |
--add-host=host.docker.internal:host-gateway | Lets the container reach Ollama, or anything else, running on your machine. |
--restart always | Comes back after a reboot. |
-e WEBUI_SECRET_KEY=your-secret-key | Set it once and keep it. Without a fixed key, every recreated container logs everyone out. Generate one with openssl rand -hex 32. |
:main has everything in it: the app plus the bundled models for local speech-to-text and document embedding, so it works offline once pulled. Two other tags are worth knowing on day one.
| Tag | Pick it when | Good to know |
|---|---|---|
:dev | You want the newest fixes now. | The pre-release, in practice a nightly: rebuilt from the dev branch as changes land, and shipped as the next release unchanged. Give it its own volume and container name (-v open-webui-dev:/app/backend/data --name open-webui-dev -p 3001:8080) and keep :main running beside it. Using the Dev Branch |
:main-slim | You want a smaller download. | The same app minus the pre-downloaded model files: the embedding models all-MiniLM-L6-v2 and bge-micro-v2, the faster-whisper base speech-to-text model and the tiktoken cl100k_base encoding. Roughly 0.3 GB less to pull. It downloads the embedding model at first start and the rest on first use. The saving only holds if the models never get downloaded: start with OFFLINE_MODE=true, then pick an external embedding engine in the admin settings, see When slim saves anything. With the default local engine and no way to download, the container still starts, but document upload and RAG fail until you switch the engine or supply the model. Costs nothing if your volume already holds the models from an earlier :main run. What slim leaves out |
Both combine as :dev-slim. GPU (:cuda), bundled Ollama (:ollama), pinned versions and Docker Hub: Docker images and tags.
Save this as docker-compose.yml, replace the secret key with the output of openssl rand -hex 32, then run docker compose up -d:
services:
  open-webui:
    image: ghcr.io/open-webui/open-webui:main
    ports:
      - "3000:8080"
    volumes:
      - open-webui:/app/backend/data
    extra_hosts:
      - host.docker.internal:host-gateway
    environment:
      - WEBUI_SECRET_KEY=your-secret-key
    restart: unless-stopped

volumes:
  open-webui:
The tags are the same as on the Docker tab: change the image: line. To try :dev, add it as a second service with its own volume and port, see Running the pre-release image. Use Docker Compose v2 (docker compose, with a space).
Prefer uv, Conda or venv? Those live on Python environments. Plain pip:
Open WebUI supports Python 3.11 and 3.12. Python 3.13 is not supported yet: a handful of our dependencies still need to ship 3.13-compatible releases, and until they do, installs on 3.13 will fail or break at runtime.
- For production, run the Docker image or use the latest Python 3.11. This is the combination we test against most heavily.
- Python 3.12 also works, but we have seen very rare reports of odd behaviour on 3.12 that we have not reproduced on 3.11. If something inexplicable happens on 3.12, drop to the latest 3.11 first.
pip install open-webui
open-webui serve
Open WebUI is now on http://localhost:8080. Set DATA_DIR to choose where your data lives, for example DATA_DIR=~/.open-webui open-webui serve.
Command not found? Activate the environment you installed into; the open-webui command lives in its bin folder (Scripts on Windows).
Need a fix that is not released yet? PyPI carries releases only. Run the Docker :dev image beside your install with its own volume, or run from the dev branch as described in Developing Open WebUI.
Download the desktop app from github.com/open-webui/desktop. It runs Open WebUI natively on your system without Docker or manual setup.
For production deployments, install via Docker or Python.
2. Open it
Docker: http://localhost:3000. Python and the desktop app: http://localhost:8080. The first start takes a minute.
Nothing loads? Run docker logs -f open-webui (docker compose logs -f with Compose) and wait for Application startup complete. If it never appears, see Startup & Docker Failures. Port already taken: change the left number in -p 3000:8080, or run open-webui serve --port 9999 with Python.
3. Create the admin account
The first screen says Get started with Open WebUI and offers Create Admin Account. That first account is the administrator: it manages users and every instance-wide setting. Everything, including this login, stays in your own volume.
Sign-up switches itself off once the admin account exists. To let other people join, turn on New Sign Ups under your avatar > Settings > Admin > Authentication; new accounts then wait as Pending until you approve them in the Admin Panel. Note the admin password: losing it locks you out of instance settings, see Reset Admin Password.
Your avatar > Settings is yours alone (theme, language). The Admin section inside it applies to the whole instance. Understanding Settings explains the split.
4. Connect a model provider
Open WebUI has no models of its own. Go to your avatar > Settings > Admin > Connections.
Ollama on this machine? It is picked up automatically at http://host.docker.internal:11434 from Docker (that is what --add-host in step 1 is for) or http://localhost:11434 from Python, and shows under Manage Ollama API Connections. As the admin, download a model by typing its name into the model selector of a new chat and confirming the pull. Ollama on another machine: -e OLLAMA_BASE_URL=http://server:11434, or set the URL on the connection.
An API key from OpenAI, Anthropic or any OpenAI-compatible provider? Click the + next to Manage OpenAI API Connections, enter the provider URL (OpenAI: https://api.openai.com/v1) and your key, then Save. Models are listed automatically.
Guides: Ollama · OpenAI · Anthropic · OpenAI-compatible APIs and local servers · all providers
Ollama on the host has to listen on 0.0.0.0 when Open WebUI runs in Docker: Connection to Ollama Server. For API providers, check the URL and key; some do not publish a model list and need the model IDs entered under Model IDs on the connection: OpenAI-compatible providers.
5. Send your first message
Click New Chat, pick a model in the selector inside the message box, type, press Enter. Drop a file into the chat to ask questions about it.
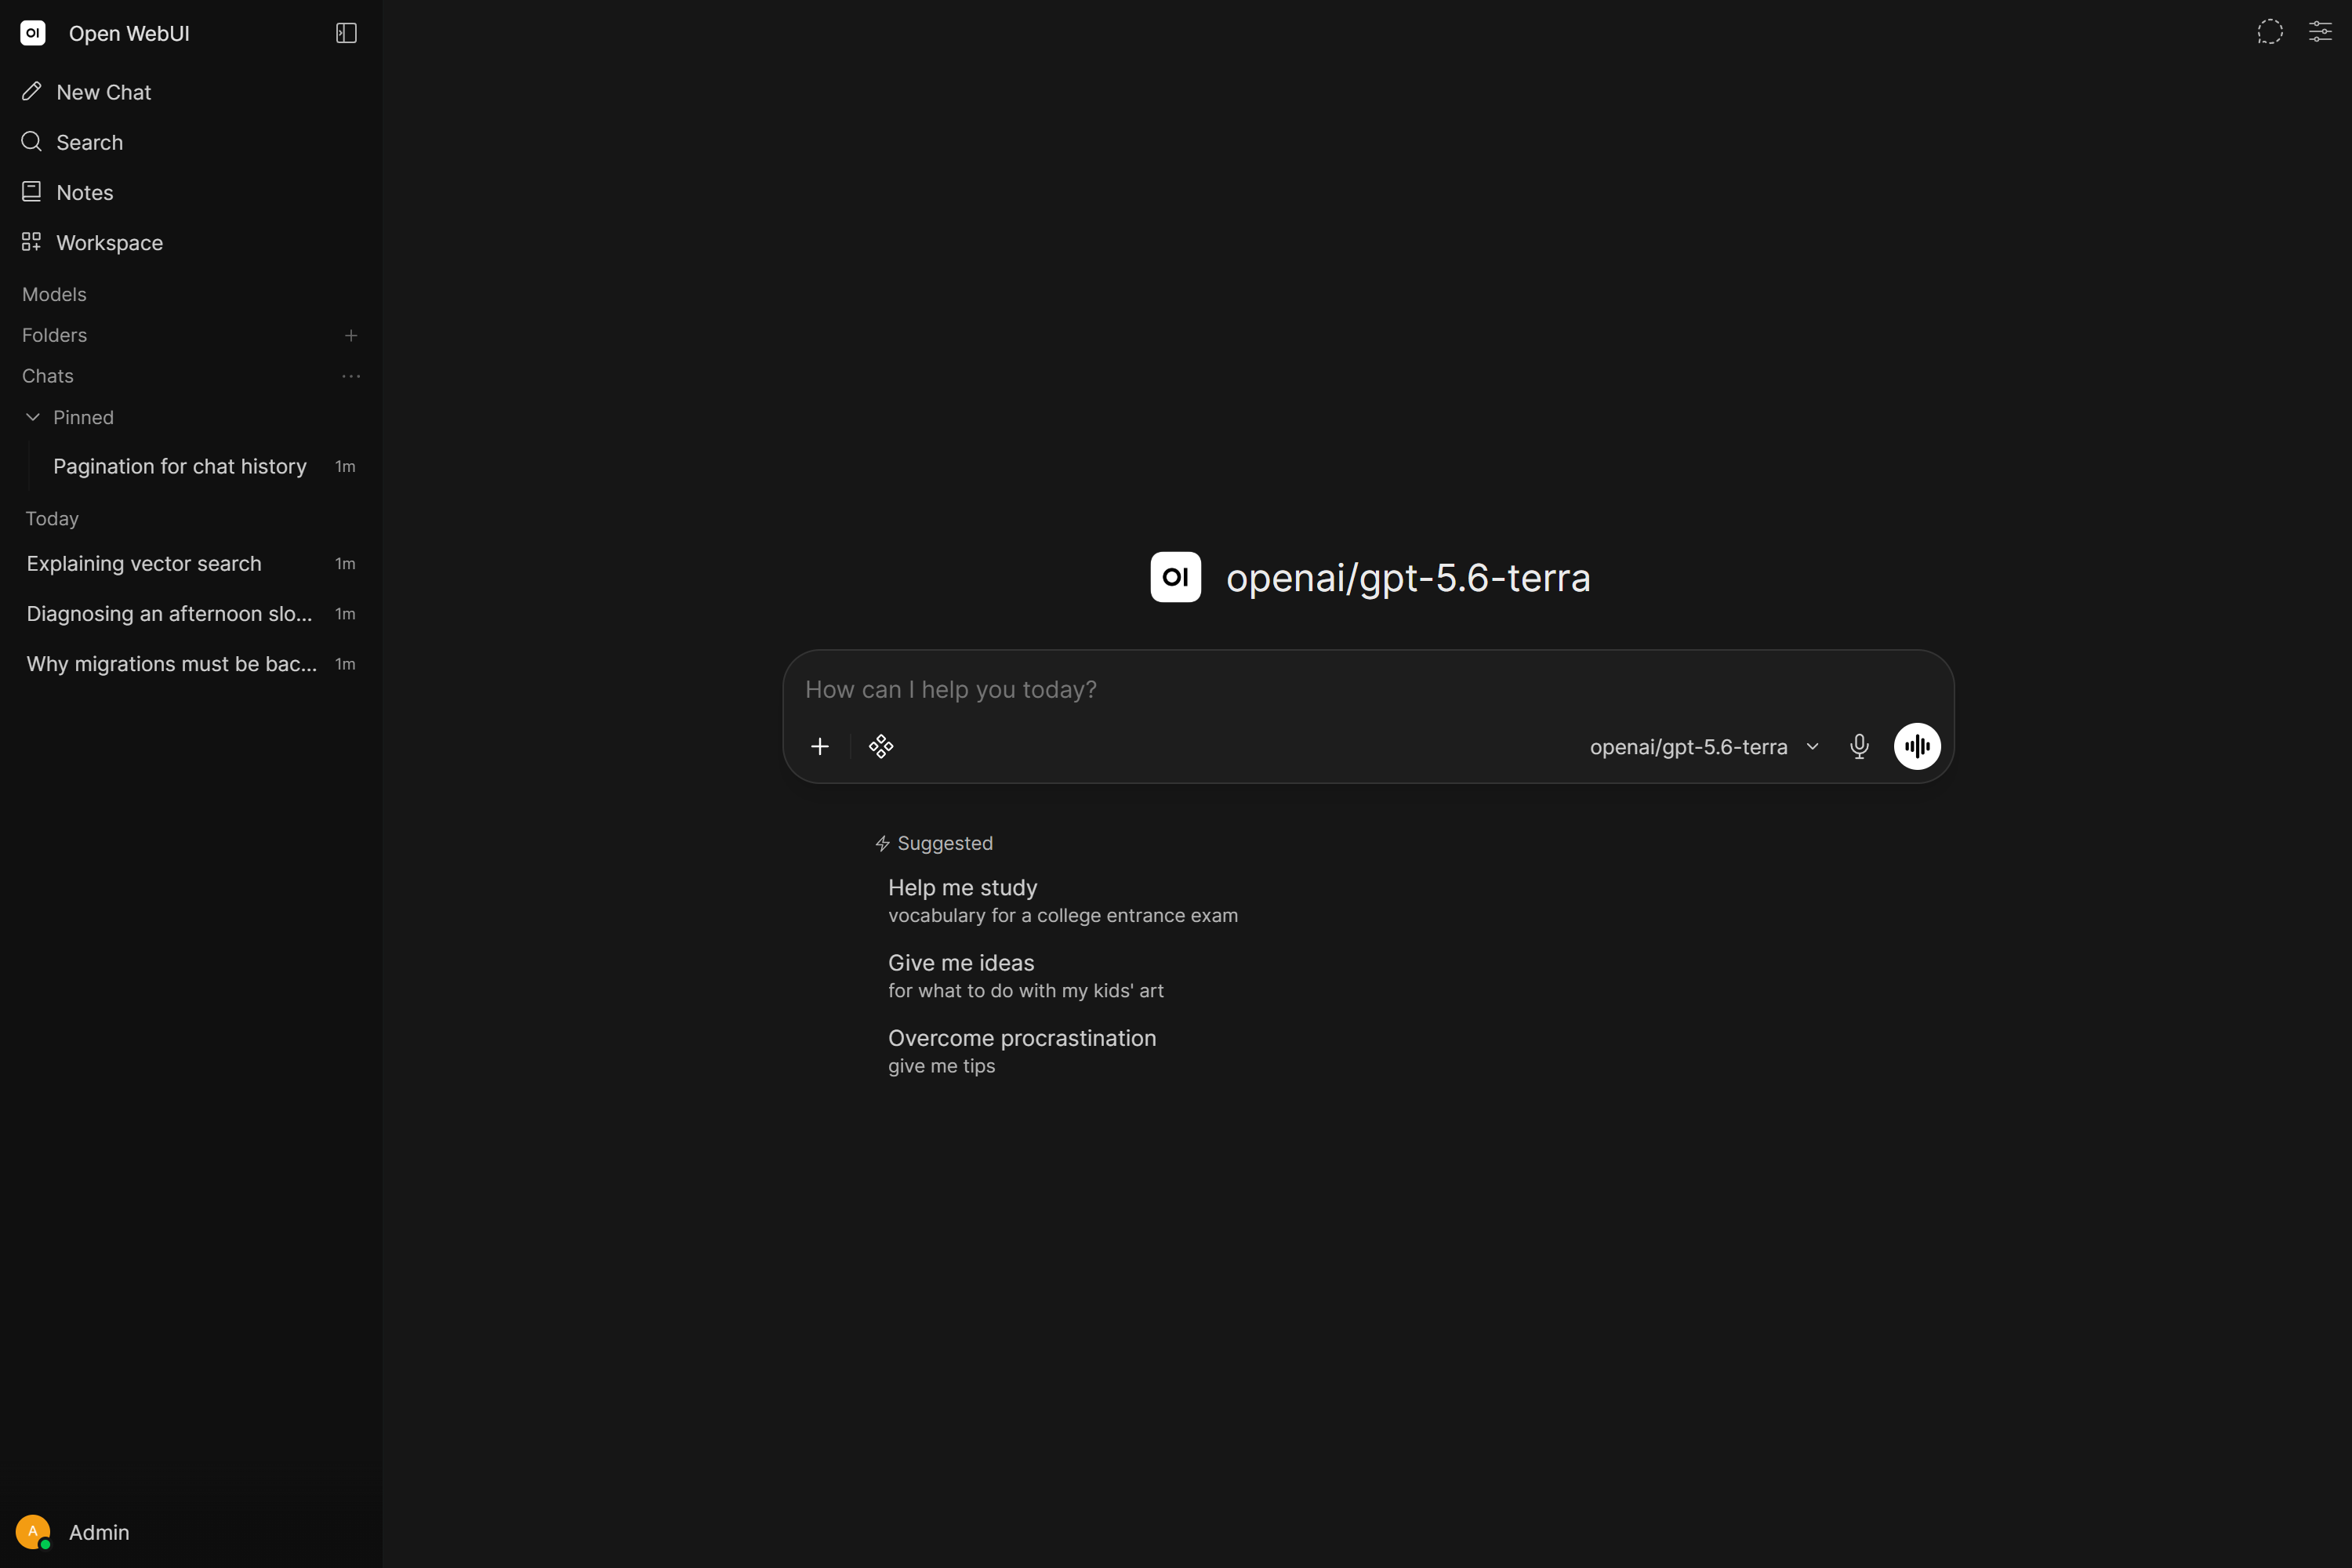
No models in the selector: back to step 4. The reply stays empty or the chat hangs behind a reverse proxy: WebSocket troubleshooting.
That is the whole install. Everything below is optional.
Where to go next
Essentials for Open WebUI continues from here. It covers what most people set up in their first week:
| Plugins | Tools and Functions from the community catalog; the feature you are missing usually exists as one. |
| Tool calling | Native mode lets the model decide when to search, read files or save memory. |
| Task models | Titles, tags and autocomplete run on a model of their own; point them at a small one. |
| Context management | Why long chats hit a wall and how Context Compaction handles it. |
| Basic RAG | Chat with your own documents, in a chat or as a knowledge base. |
| Web search | Pick a search provider and the model searches when a question needs it. |
| Open Terminal | A sandboxed shell the model can build and run things in. |
Keep it running
- Update: pull the new image and recreate the container with the step 1 command, same
WEBUI_SECRET_KEY; your data is in the volume. Updating - Back up the volume before every update: Backup & Restore
- Share it with others on your network or team: Sharing Open WebUI. Read the hardening guide before exposing it beyond your machine.
- Install it as an app on your phone or desktop: Open WebUI as an App
- Outbound calls: a stock install makes these on its own. A version check to GitHub, off with
ENABLE_VERSION_UPDATE_CHECK=false. A model-list request to the default OpenAI connection, gone once you delete that connection or setENABLE_OPENAI_API=false. An update check for the local embedding model on Hugging Face at every start, off withRAG_EMBEDDING_MODEL_AUTO_UPDATE=false.
Want an autonomous agent with terminal, file and web access? Connect an Agent. Questions: Discord. Bugs: GitHub Issues.
More install methods
Podman, Kubernetes with Helm, Docker Swarm, Docker on Windows with WSL, the Docker Desktop extension, Pinokio and the uv, Conda and venv setups each have their own page under More install methods. The full image and tag reference, including GPU, bundled Ollama, pinned versions and uninstall, is Docker images and tags.