Notion (MCP)
This tutorial is a community contribution and is not supported by the Open WebUI team. It serves as a demonstration on how to customize Open WebUI for your specific use case. Want to contribute? Check out the contributing tutorial.
Notion hosts a remote MCP server at https://mcp.notion.com/mcp that Open WebUI connects to natively via Streamable HTTP. Authentication is handled through Notion's OAuth flow — no API tokens, no proxies, no extra containers.
Setup
You MUST set the WEBUI_SECRET_KEY environment variable to a persistent value. Without it, your OAuth session breaks every time the container restarts, forcing re-authentication. See the MCP feature docs for details.
1. Add the tool
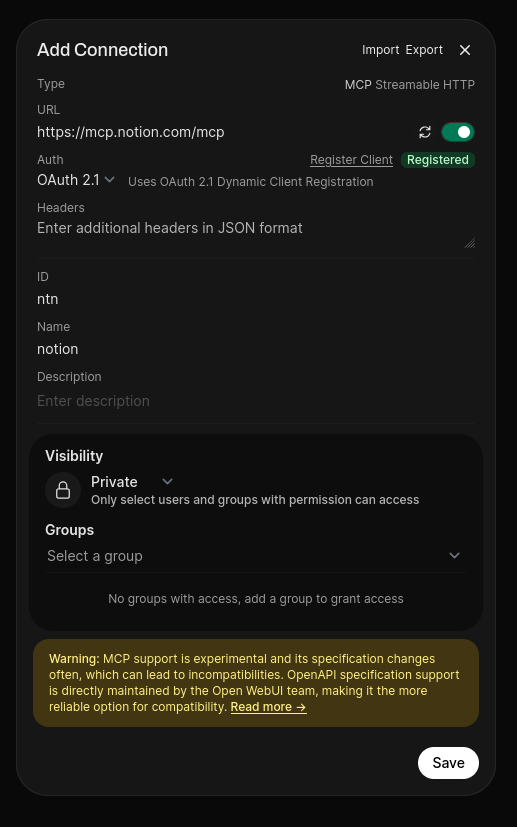
Go to Admin Panel → Settings → External Tools and click + to add a new connection. Fill in the following:
| Field | Value |
|---|---|
| Type | MCP Streamable HTTP |
| URL | https://mcp.notion.com/mcp |
| Auth | OAuth 2.1 |
| ID | ntn |
| Name | Notion |
Click Register Client, then Save. Use OAuth 2.1 (Static) if you have pre-created OAuth client credentials.
Alternative: Import JSON
You can also click Import in the modal and paste this configuration:
[
  {
    "type": "mcp",
    "url": "https://mcp.notion.com/mcp",
    "spec_type": "url",
    "spec": "",
    "path": "openapi.json",
    "auth_type": "oauth_2.1",
    "key": "",
    "info": {
      "id": "ntn",
      "name": "Notion",
      "description": "Search, read, create, and manage Notion pages and databases."
    }
  }
]
2. Authorize
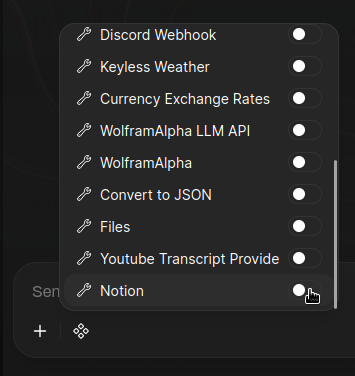
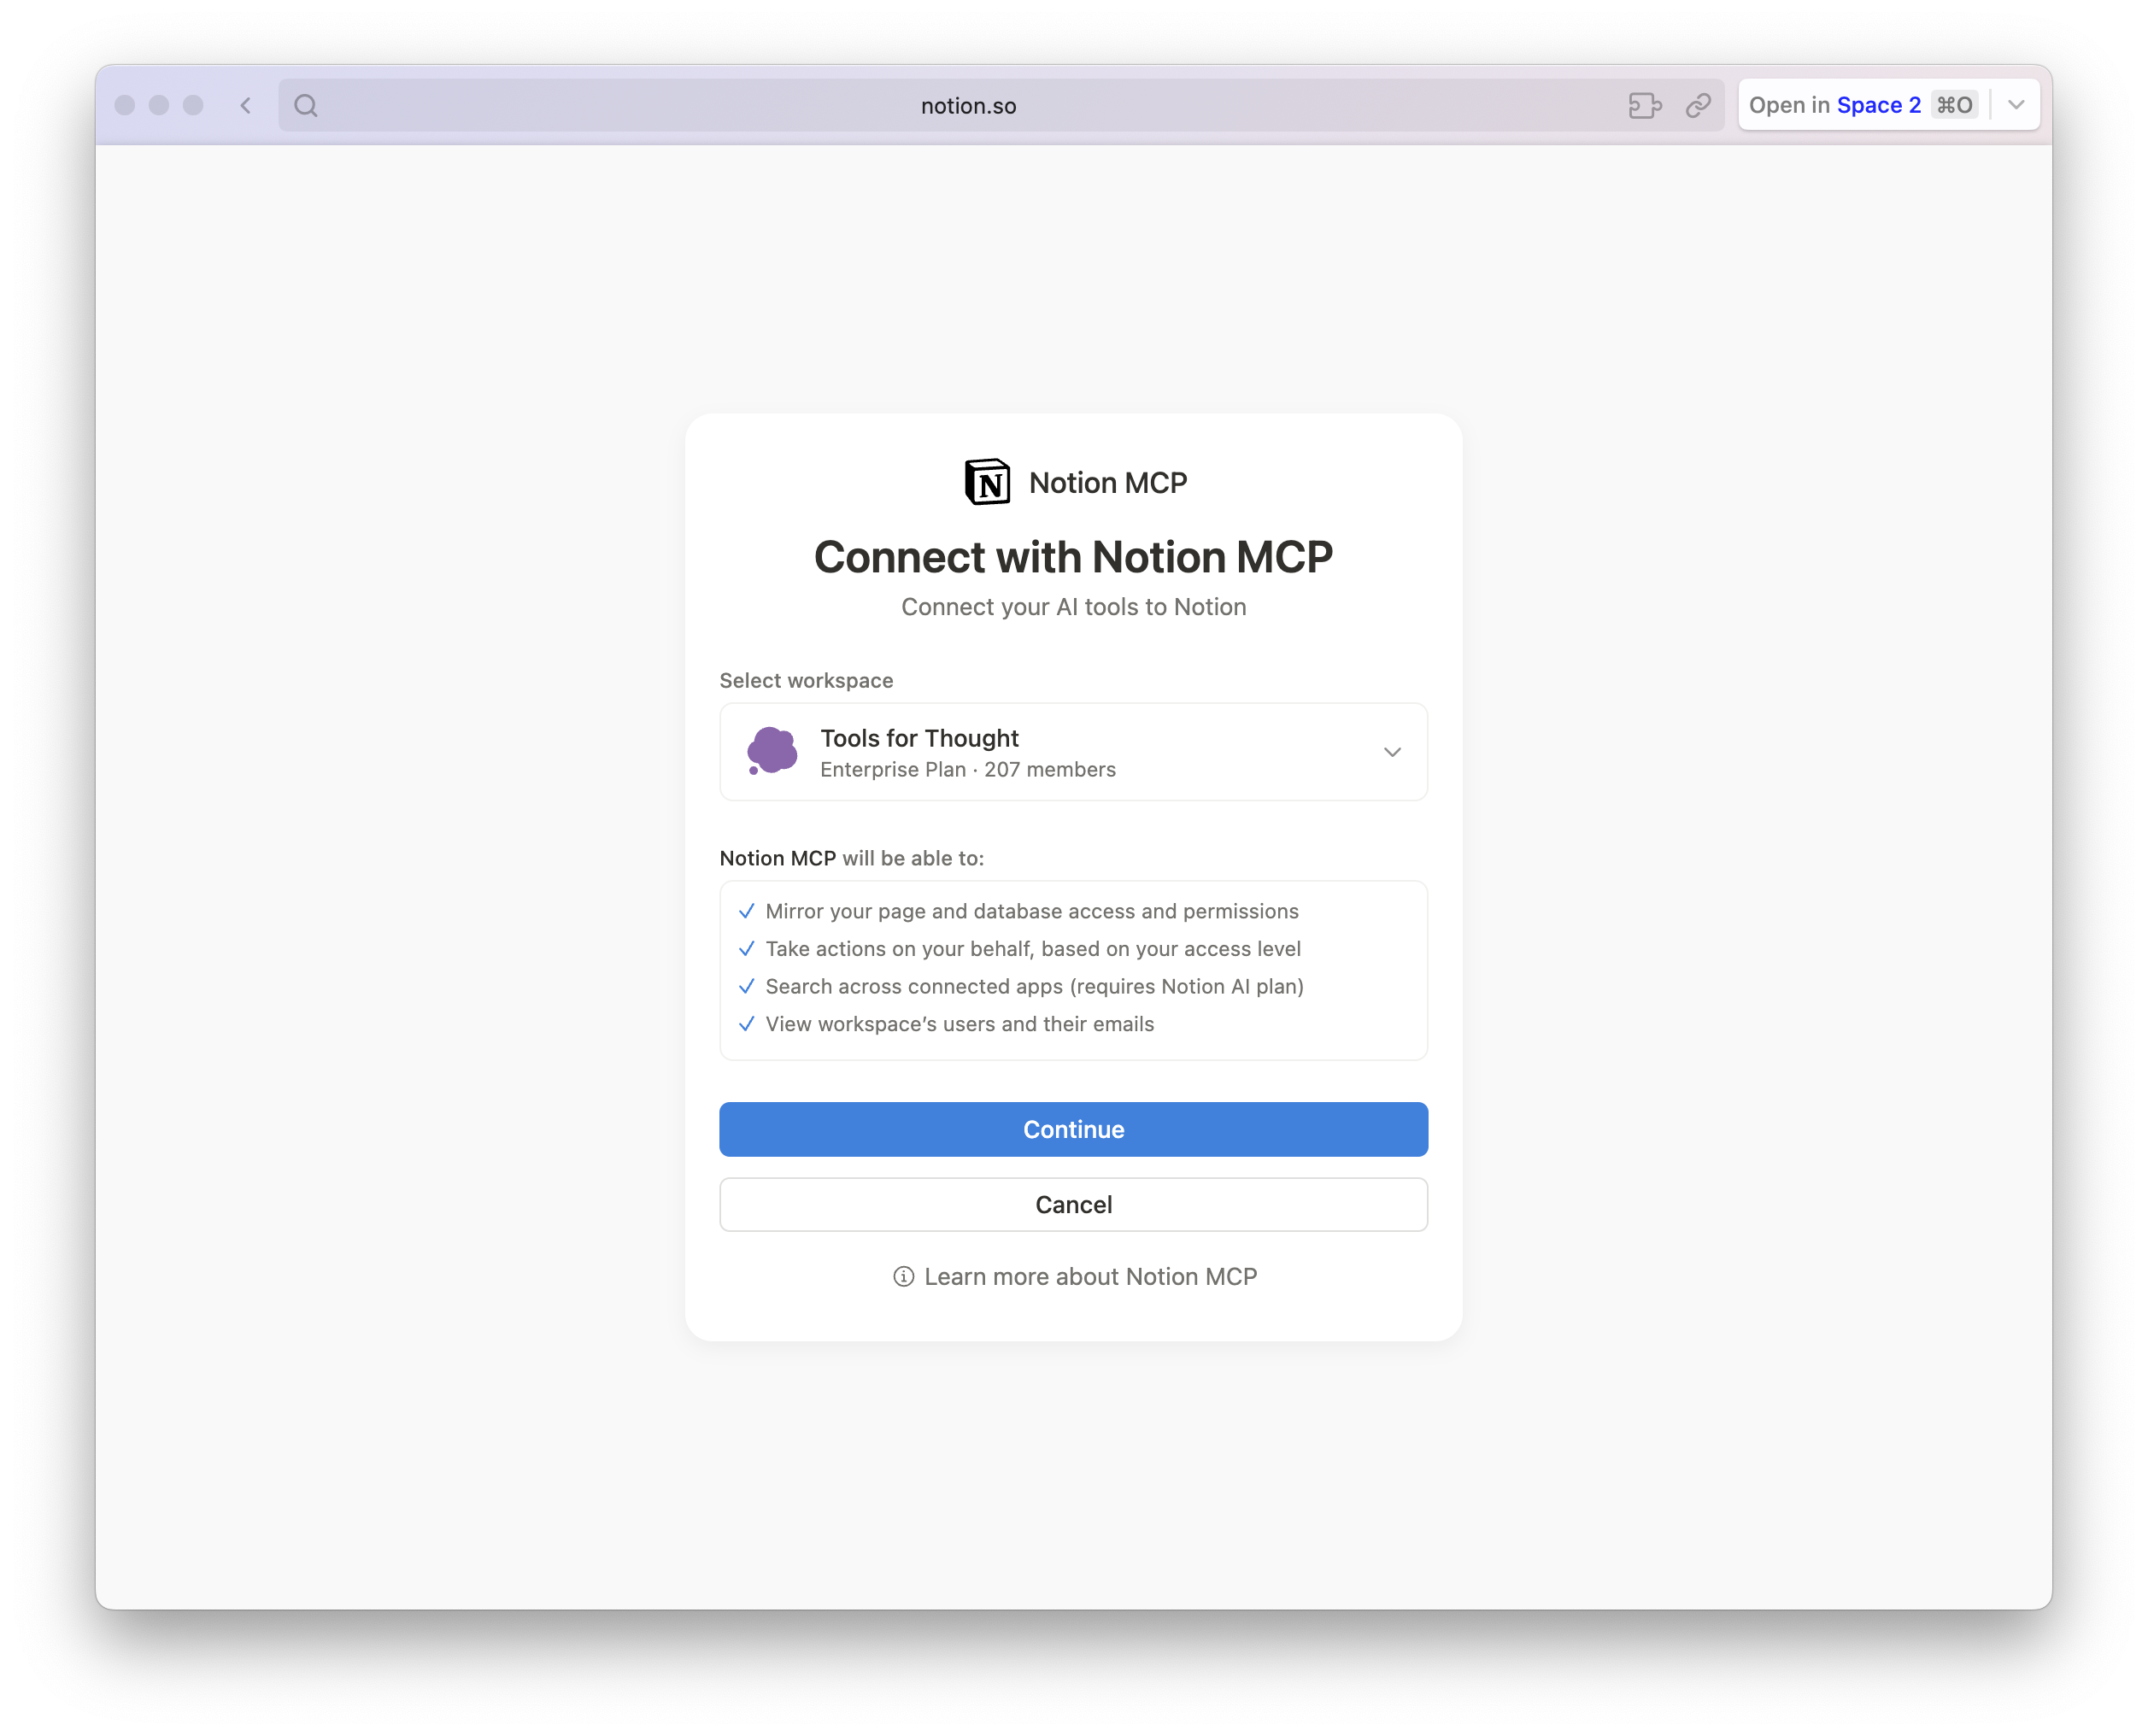
In any chat, open + → Integrations → Tools and toggle Notion on. You'll be redirected to Notion's OAuth flow — select your workspace and grant access.
Do not set this as a default tool on a model. OAuth 2.1 requires an interactive browser redirect that cannot happen mid-request. Users must enable it manually per-chat via the + button. See MCP docs for details.
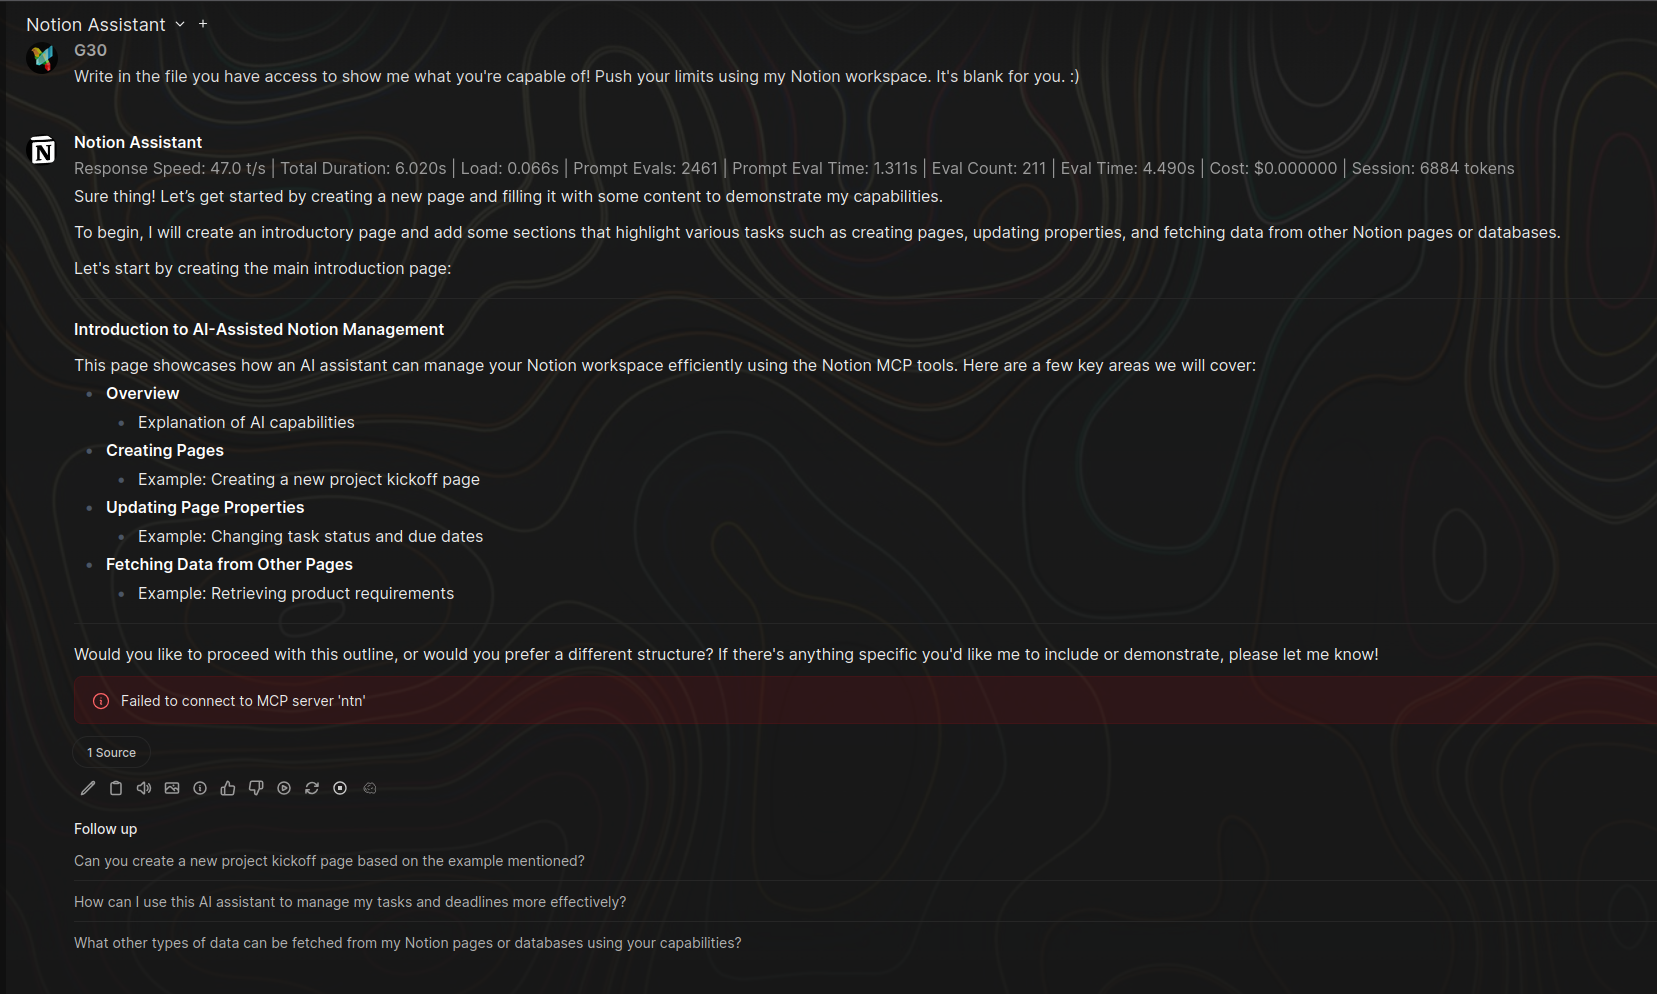
Notion's OAuth session may expire after inactivity or container restarts. If you see Failed to connect to MCP server 'ntn', re-toggle the tool in any chat to trigger the authorization flow again.
Rate limits
Standard Notion API limits apply:
- General: 180 requests per minute
- Search: 30 requests per minute
Troubleshooting
Failed to connect to MCP server 'ntn'
Your OAuth session has expired. Re-toggle the Notion tool in any chat (+ → Integrations → Tools) to re-authorize.
OAuth callback failed: mismatching_state
You're accessing Open WebUI via localhost, but WEBUI_URL is set to a public domain. Access your instance using the exact URL from WEBUI_URL and authorize again.
Object not found
The page hasn't been shared with the integration. During the OAuth flow, Notion asks which pages to grant access to — make sure the relevant pages are selected. You can update access anytime from your Notion integrations settings.
missing_property when creating a page
Notion requires a parent page or database. Tell the model: "Search for my 'Notes' page first, then create the new page inside it."