OpenAI
This tutorial is a community contribution and is not supported by the Open WebUI team. It serves only as a demonstration on how to customize Open WebUI for your specific use case. Want to contribute? Check out the contributing tutorial.
Open WebUI also supports image generation through the OpenAI APIs. This option includes a selector for choosing between DALL·E 2, DALL·E 3, and GPT-Image-1 each supporting different image sizes.
Initial Setup
- Obtain an API key from OpenAI.
Configuring Open WebUI
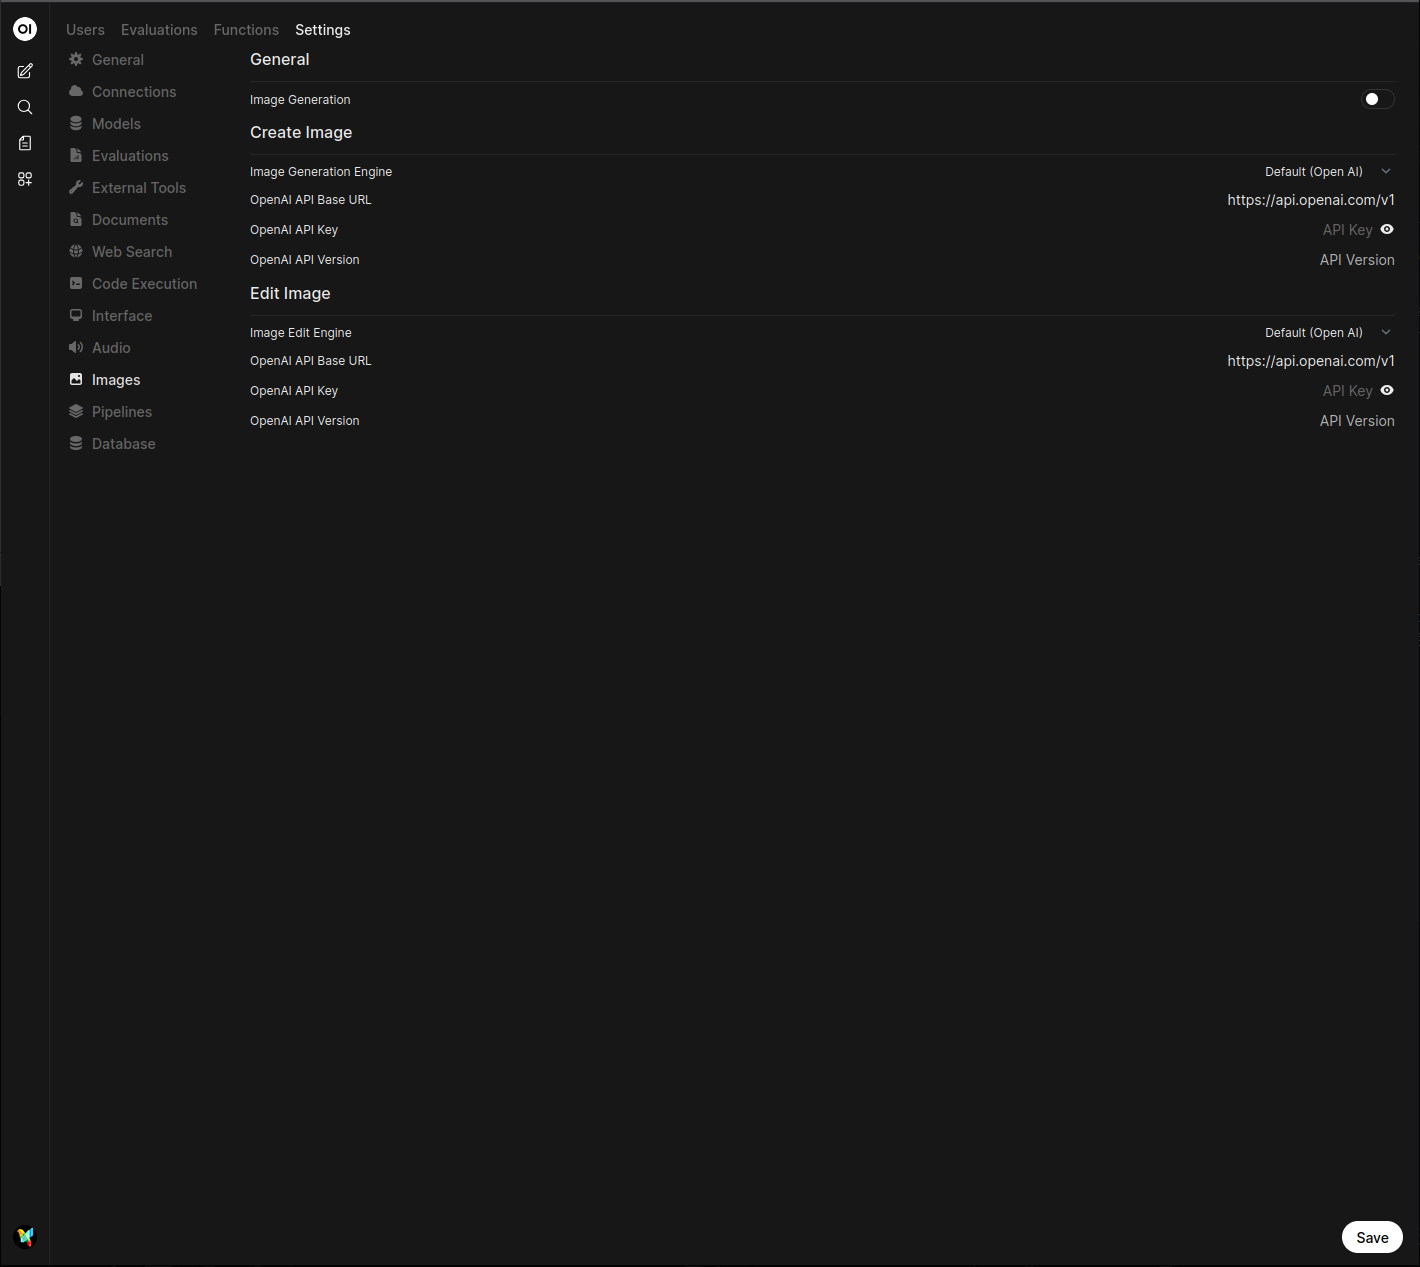
- In Open WebUI, navigate to the Admin Panel > Settings > Images menu.
- Set the
Image Generation Enginefield toOpen AI. - Enter your OpenAI API key.
- Choose the model you wish to use. Note that image size options will depend on the selected model:
- DALL·E 2: Supports
256x256,512x512, or1024x1024images. - DALL·E 3: Supports
1024x1024,1792x1024, or1024x1792images. - GPT-Image-1: Supports
auto,1024x1024,1536x1024, or1024x1536images.
- DALL·E 2: Supports
Azure OpenAI
Image generation with Azure OpenAI (DALL·E or GPT-Image) is supported. Configure the Image Generation as follows:
- In Open WebUI, navigate to the Admin Panel > Settings > Images menu.
- Set the
Image Generation Enginefield toOpen AI(Azure OpenAI uses the same syntax as OpenAI). - Change the API endpoint URL to
https://<instance-id>.cognitiveservices.azure.com/openai/deployments/<model>/. Set the instance and model id as you find it in the settings of the Azure AI Foundry. - Configure the API version to the value you find in the settings of the Azure AI Foundry.
- Enter your Azure OpenAI API key.

For Azure OpenAI gpt-image-1.5, use the following settings for successful generation:
- Model:
gpt-image-1.5 - Image Size:
1024x1024 - API Version:
2025-04-01-preview - API Endpoint URL:
https://<your-resource-name>.openai.azure.com/openai/deployments/<your-deployment-name>/(ensure the trailing slash is included)
If you encounter the error [ERROR: azure-openai error: Unknown parameter: 'response_format'.], double-check that your API Version is set to 2025-04-01-preview or later.
Alternative API endpoint URL tutorial: https://<endpoint name>.openai.azure.com/openai/deployments/<model name>/ - you can find your endpoint name on https://ai.azure.com/resource/overview, and model name on https://ai.azure.com/resource/deployments.
You can also copy Target URI from your deployment detailed page, but remember to delete strings after model name.
For example, if your Target URI is https://test.openai.azure.com/openai/deployments/gpt-image-1/images/generations?api-version=2025-04-01-preview, the API endpoint URL in Open WebUI should be https://test.openai.azure.com/openai/deployments/gpt-image-1/.
LiteLLM Proxy with OpenAI Endpoints
Image generation with a LiteLLM proxy using OpenAI endpoints is supported with Open WebUI. Configure the Image Generation as follows:
- In Open WebUI, navigate to the Admin Panel > Settings > Images menu.
- Set the
Image Generation Enginefield toOpen AI. - Change the API endpoint URL to
https://<your-litellm-url>:<port>/v1. - Enter your LiteLLM API key.
- The API version can be left blank.
- Enter the image model name as it appears in your LiteLLM configuration.
- Set the image size to one of the available sizes for the selected model.
To find your LiteLLM connection information, navigate to the Admin Panel > Settings > Connections menu. Your connection information will be listed under the OpenAI API connection.