The File Browser
When Open Terminal is connected, a file browser appears in the sidebar of your chat. It works like the file explorer on your computer. You can browse folders, open files, upload things, and download results. Everything the AI creates shows up here automatically.
By default the file browser opens automatically when you select a terminal. To stop it from opening on its own, turn off Show Files on Terminal Select in Settings → Interface (a per-user preference).
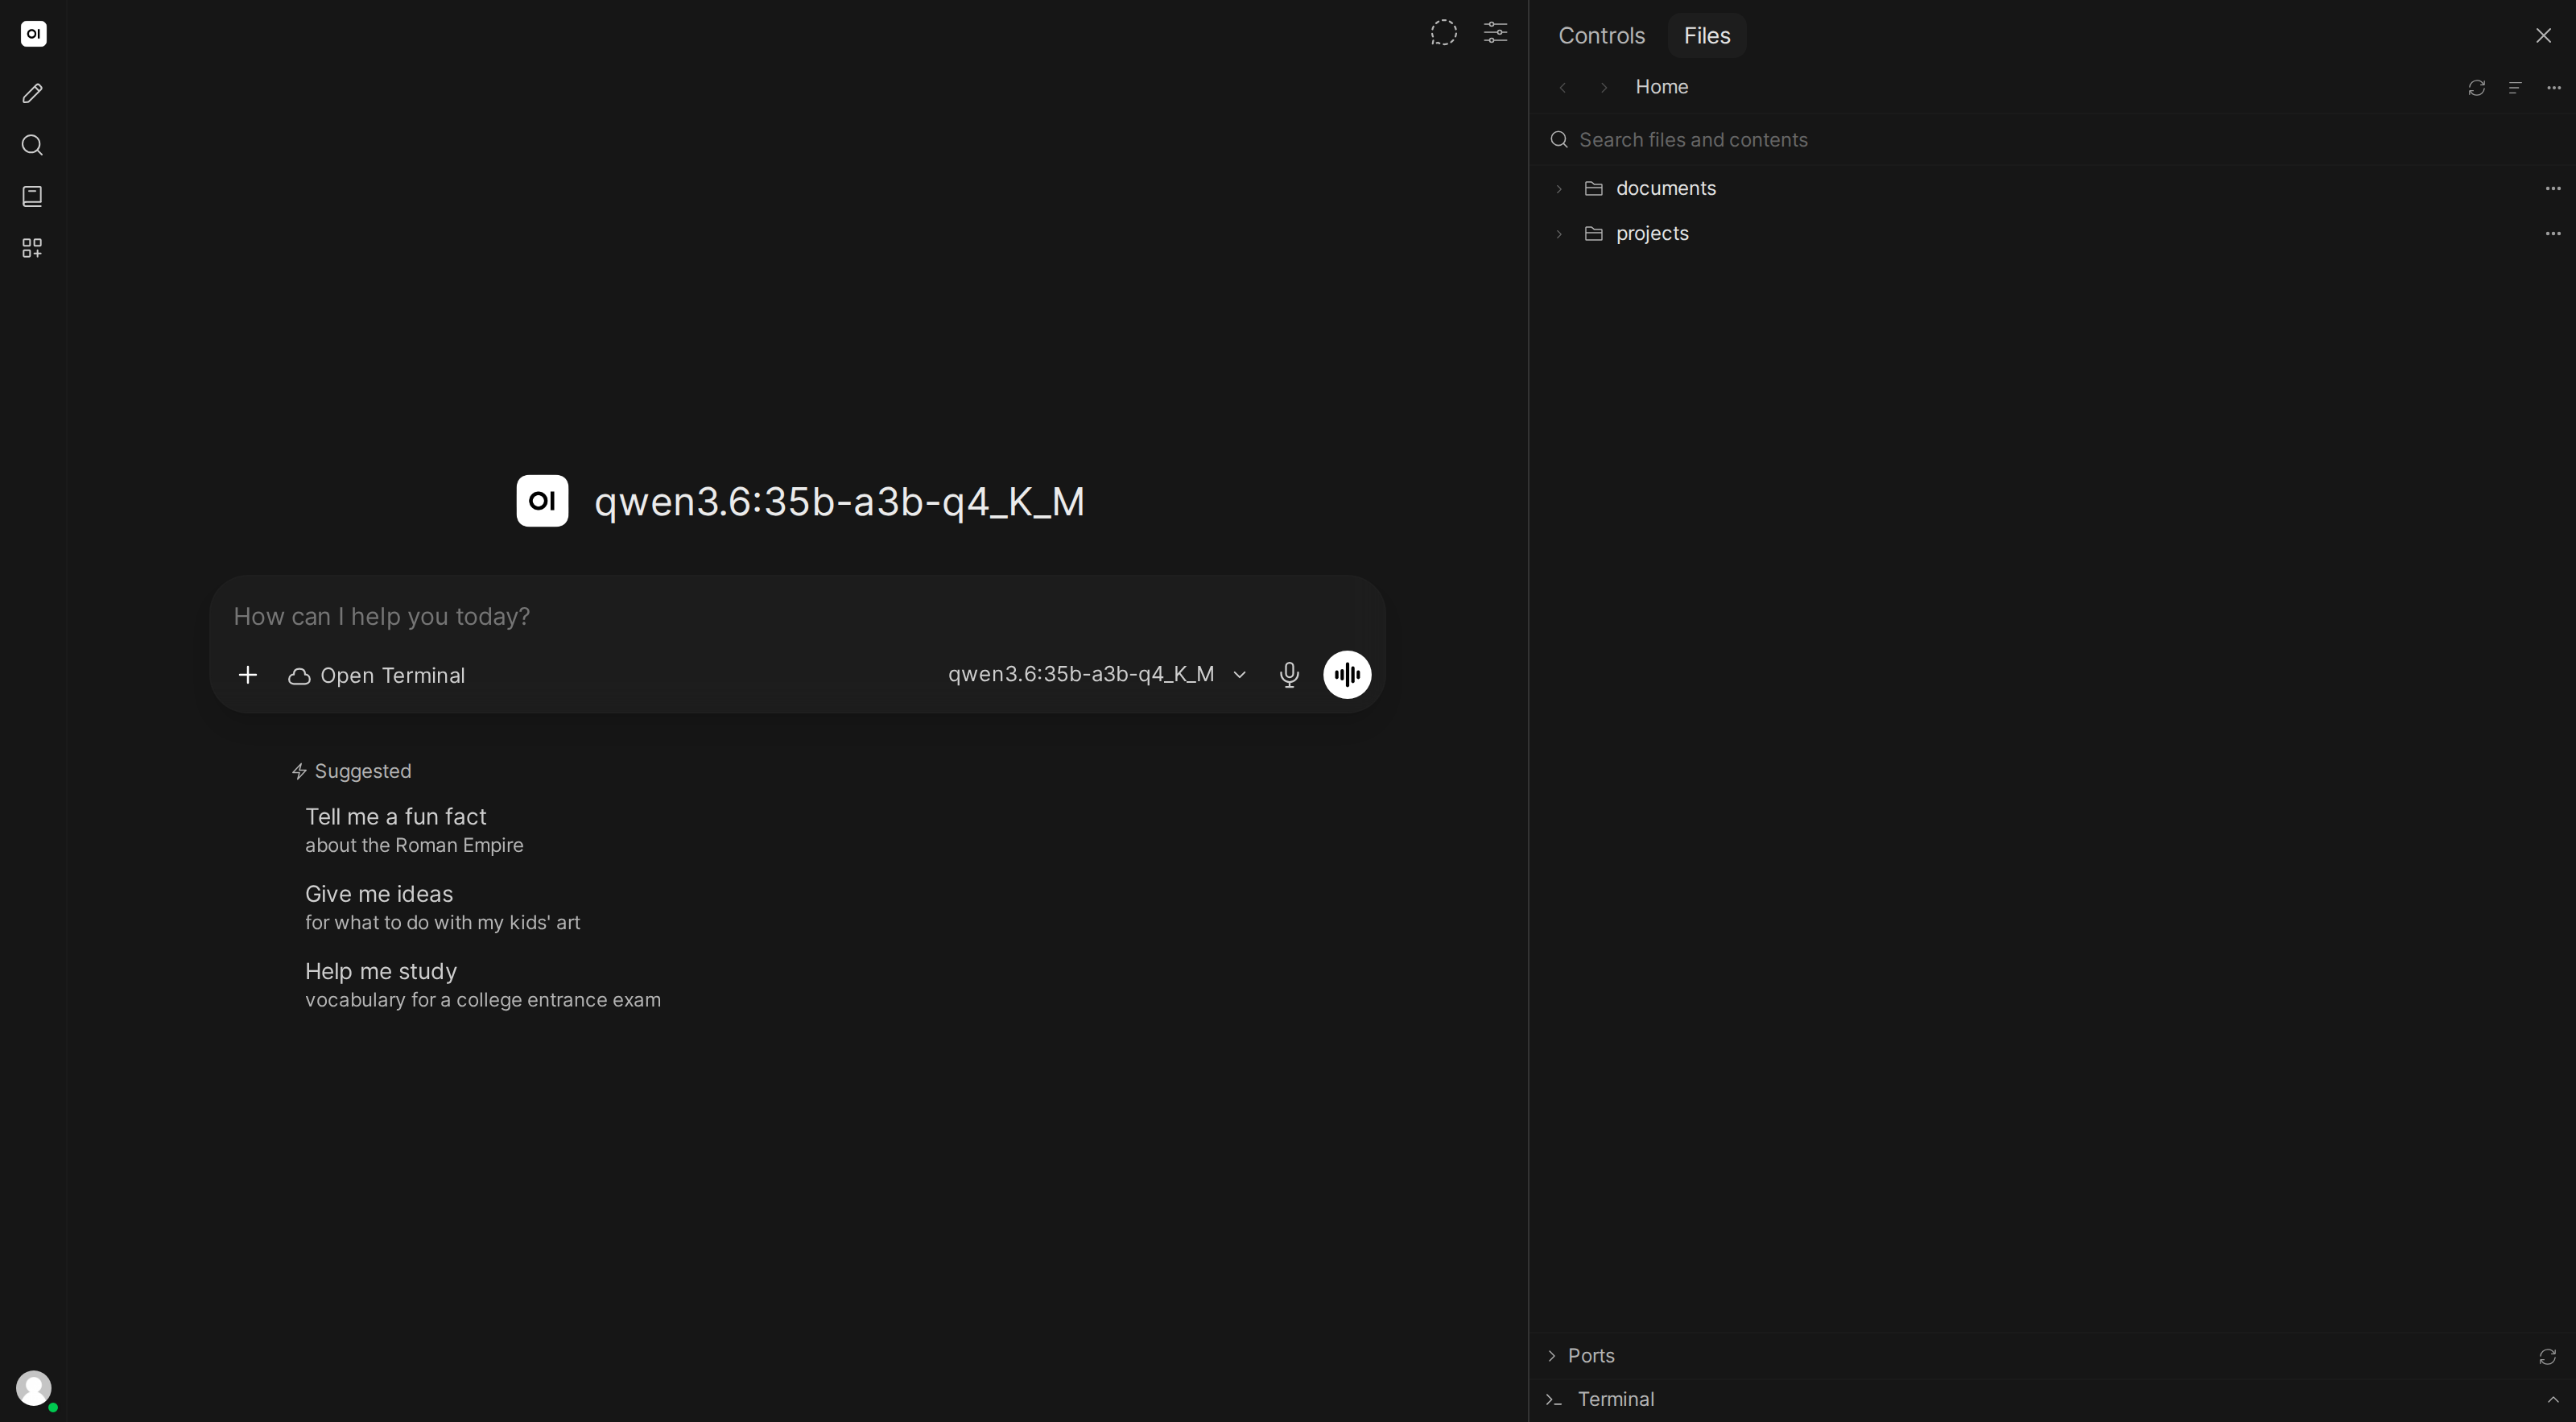
Browsing
Click folders to navigate, and click files to preview them. A breadcrumb bar at the top shows where you are.
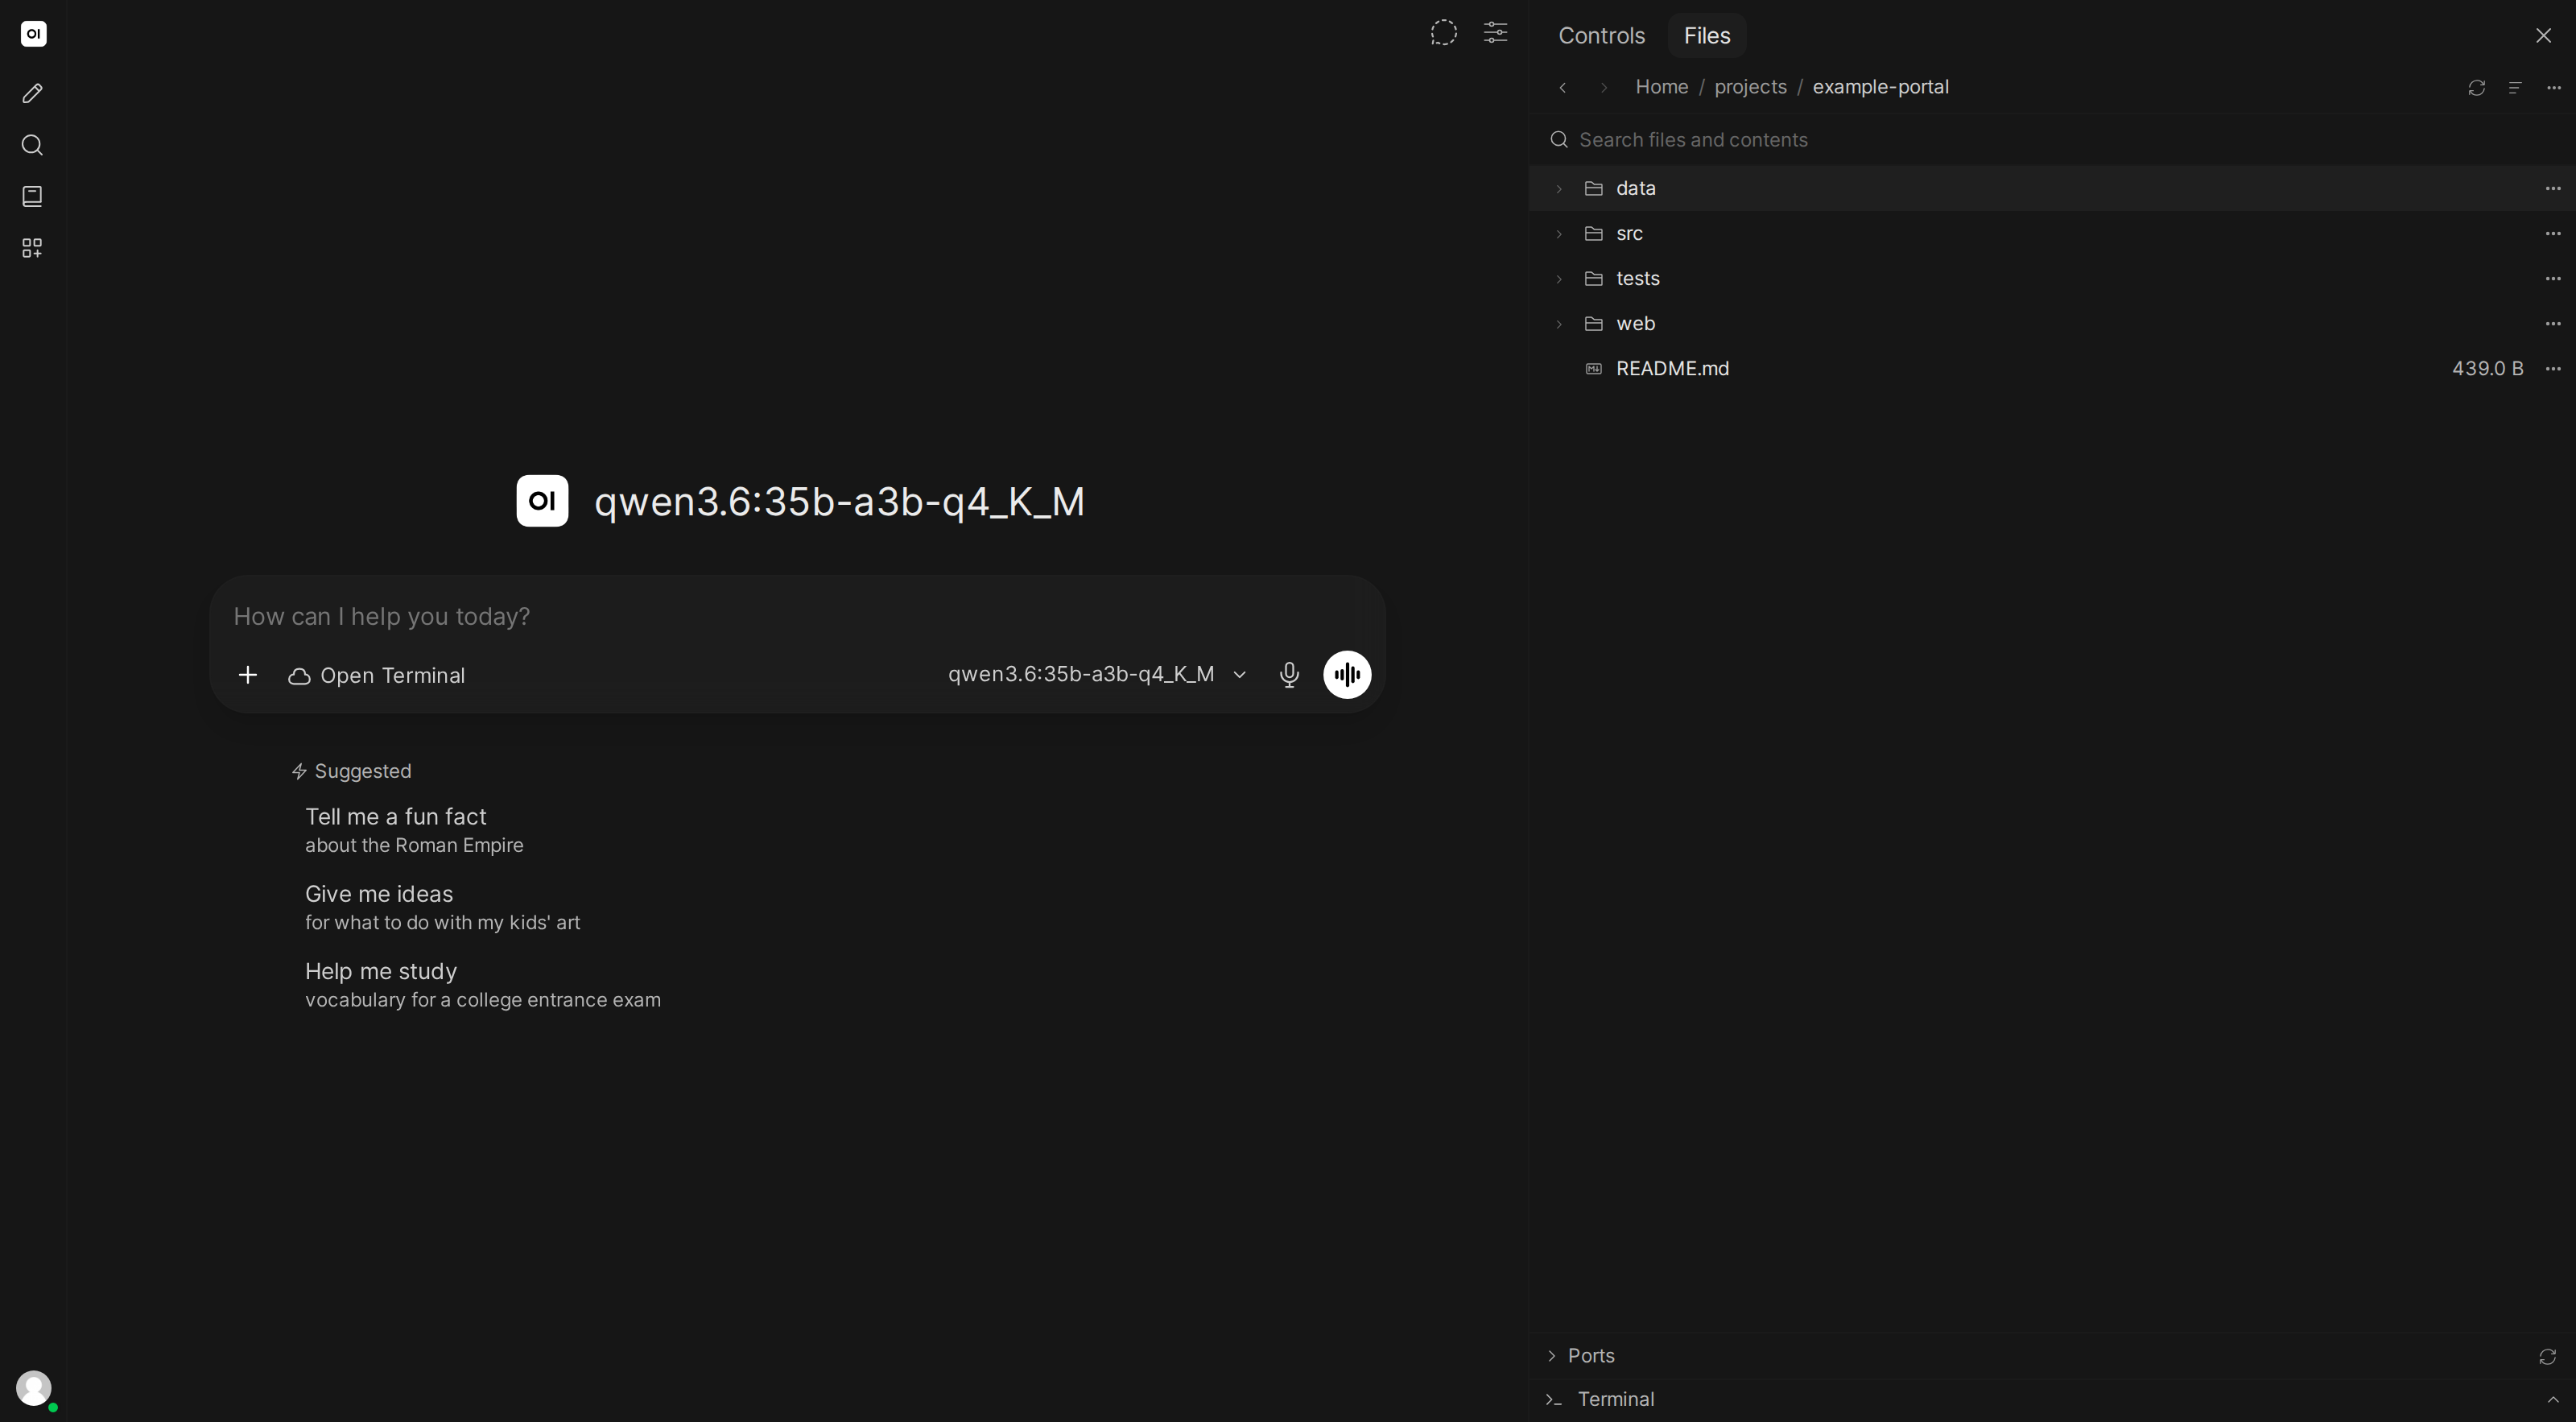
Sorting
Use the toolbar above the file list to sort by Name or Date Modified, ascending or descending. Folders always group ahead of files, so the sort order only reorders entries within each group. Each row shows its modified time next to the size, making it easier to find the latest output the AI just dropped into a working directory.
Previewing files
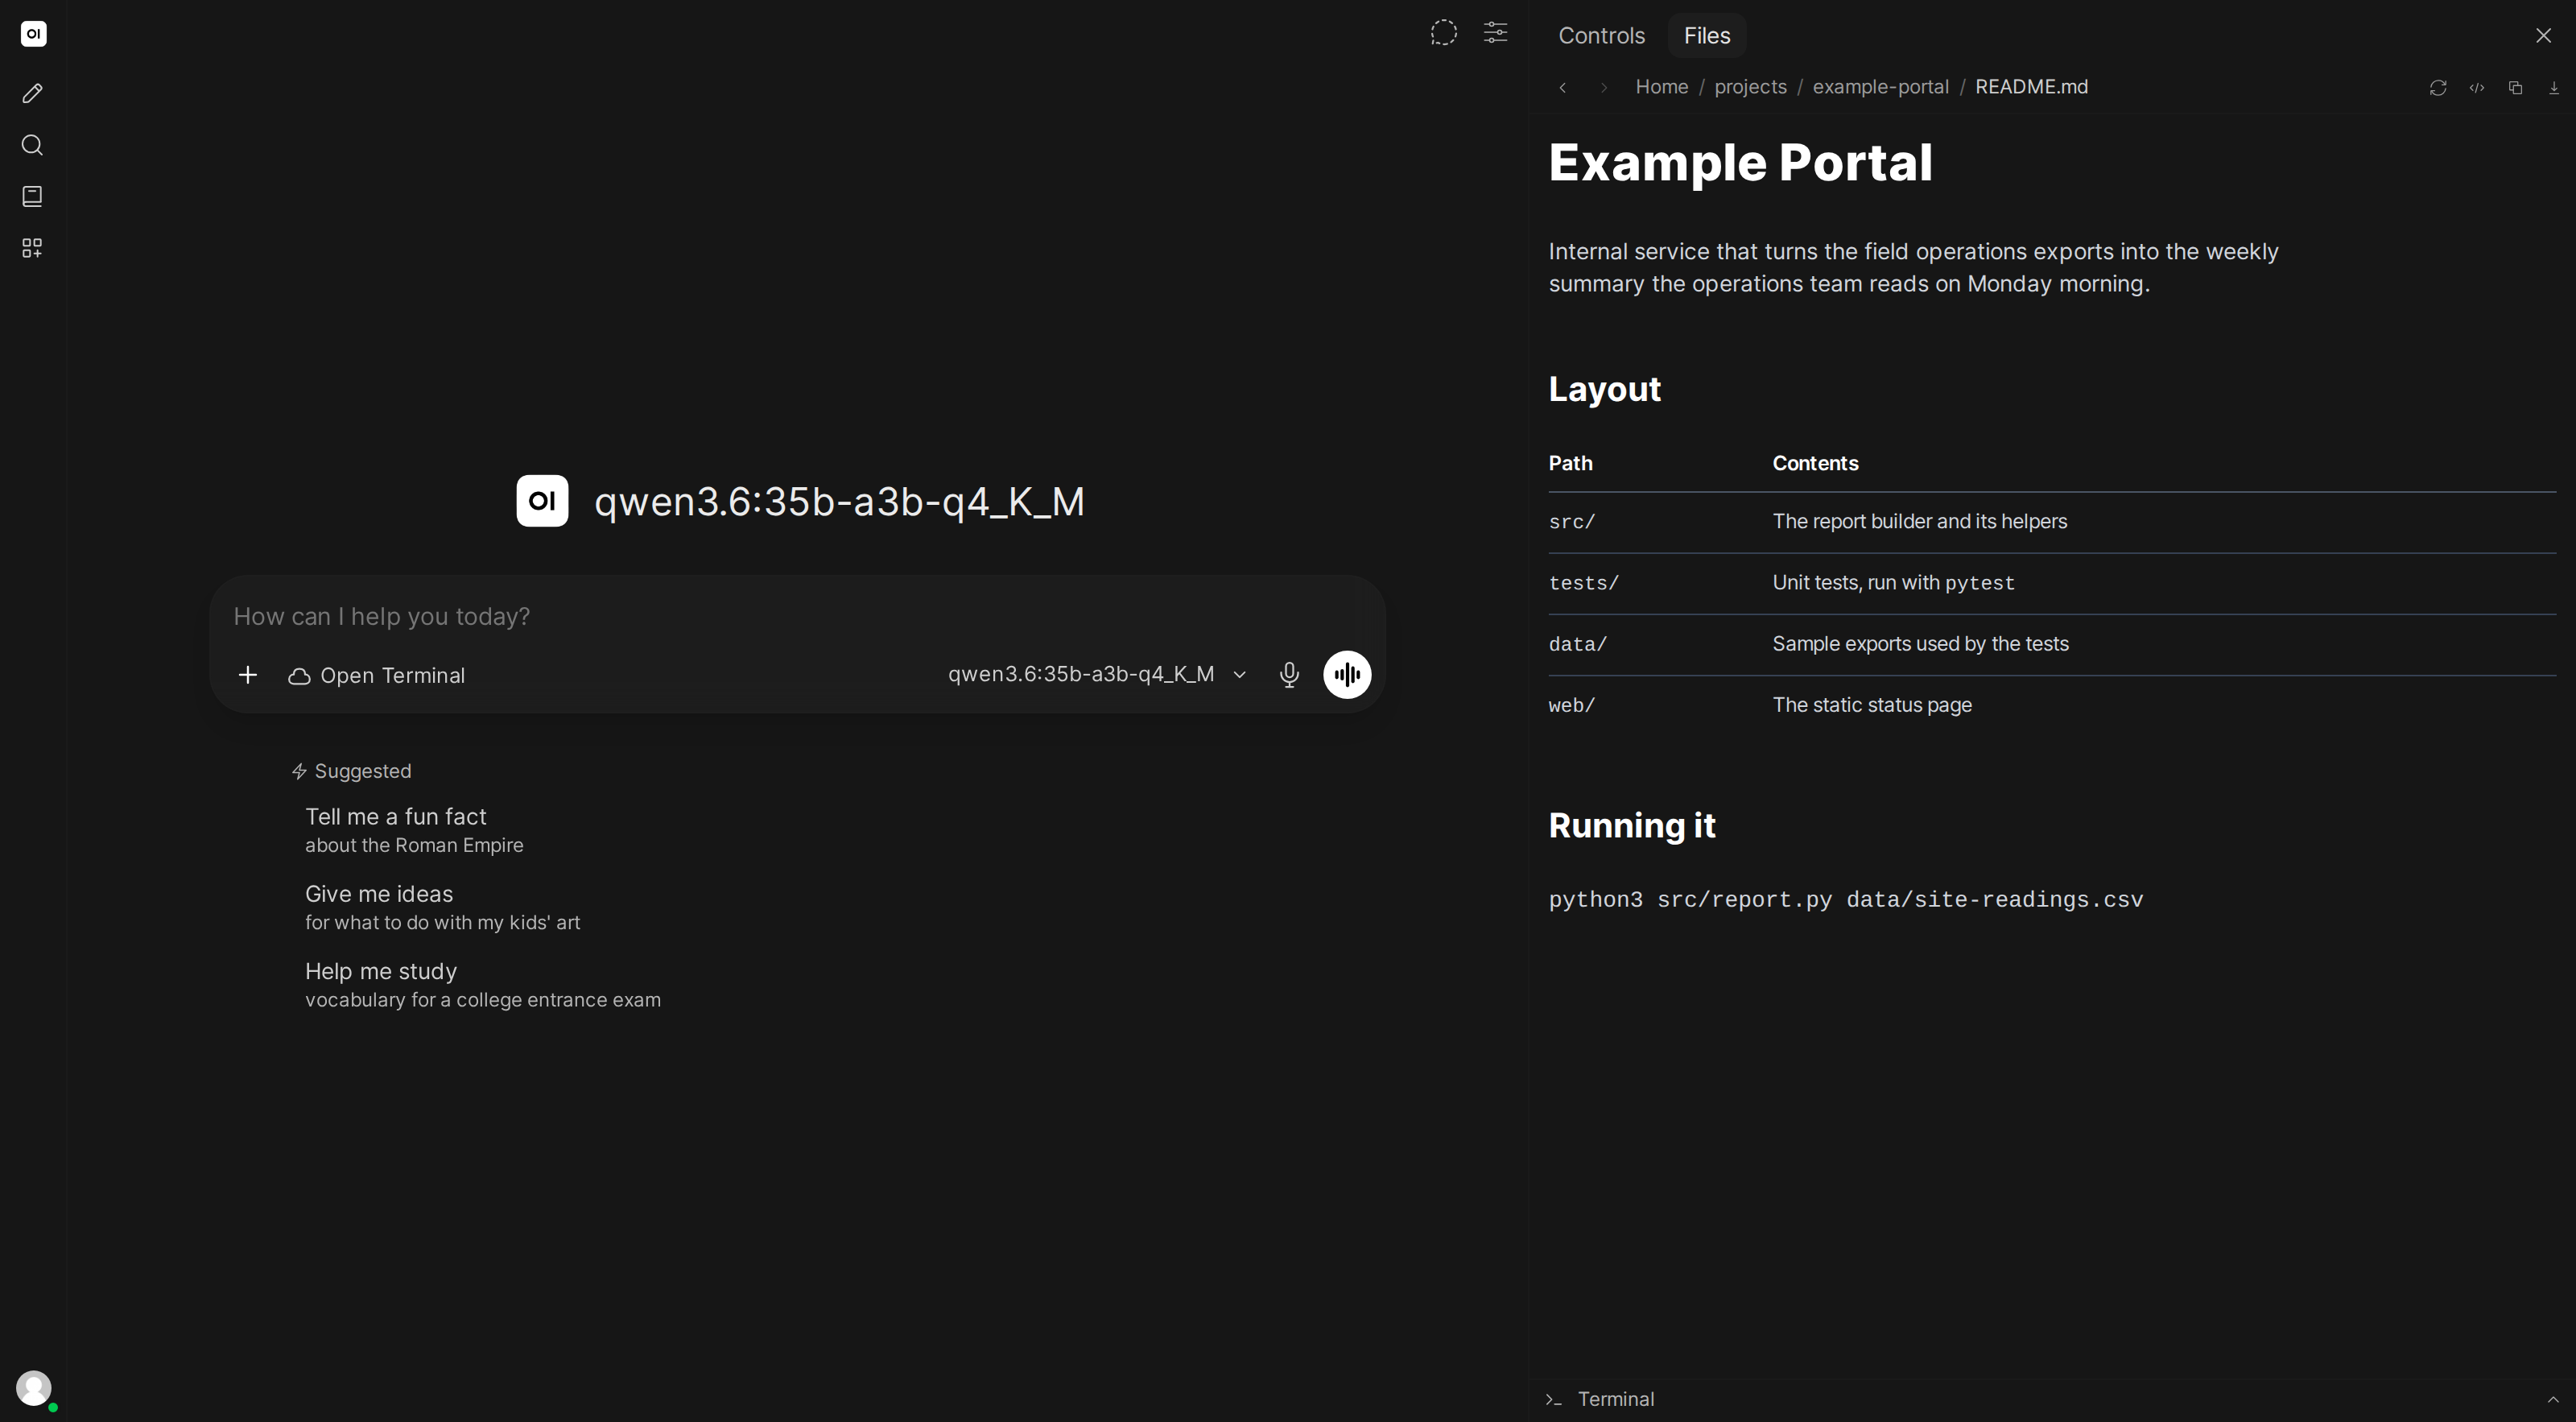
Click any file to see a preview. Different file types display differently:
The terminal lays those files out itself, which needs Open Terminal 0.12.1 or newer running the default image. On anything older, or on the smaller images, the browser draws an approximation instead. See Updating if your previews look rougher than the ones described here.
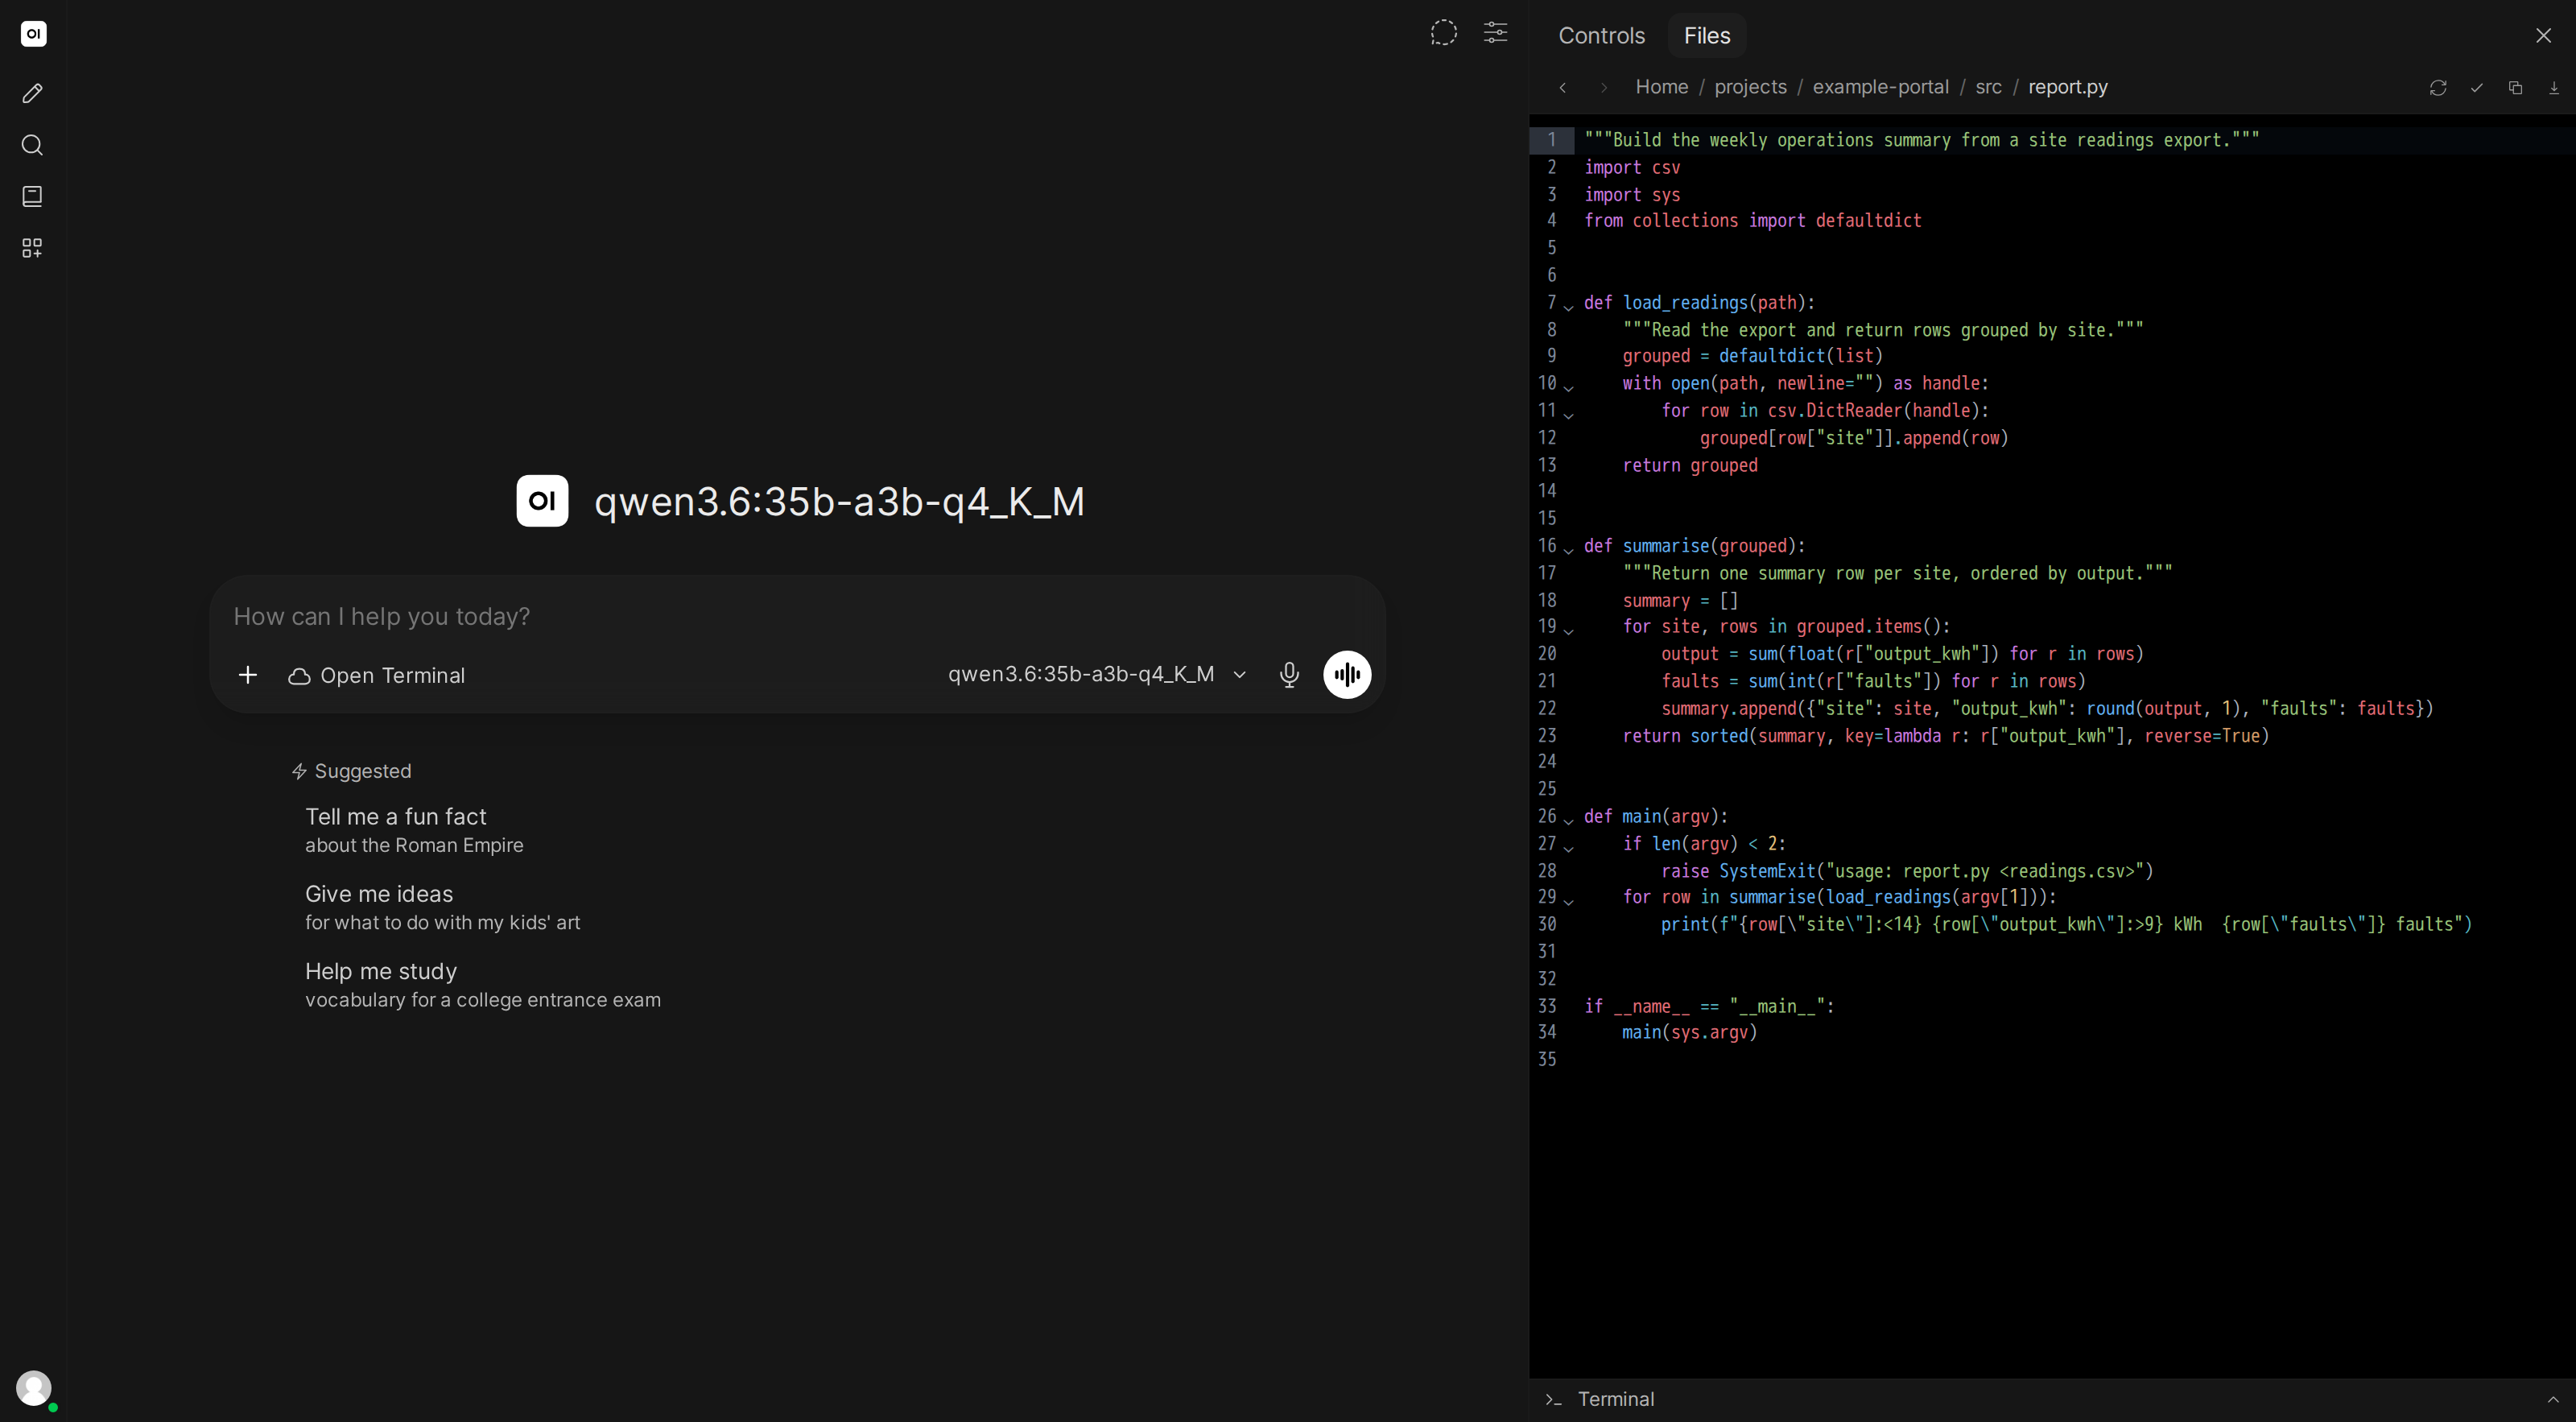
Text and code
Source code and text files are shown with syntax highlighting and line numbers.
PDFs
PDF documents render directly in the browser, so you can read them without downloading. A numbered thumbnail strip of the pages runs alongside the document; click a page to jump to it. It is hidden on a narrow panel.
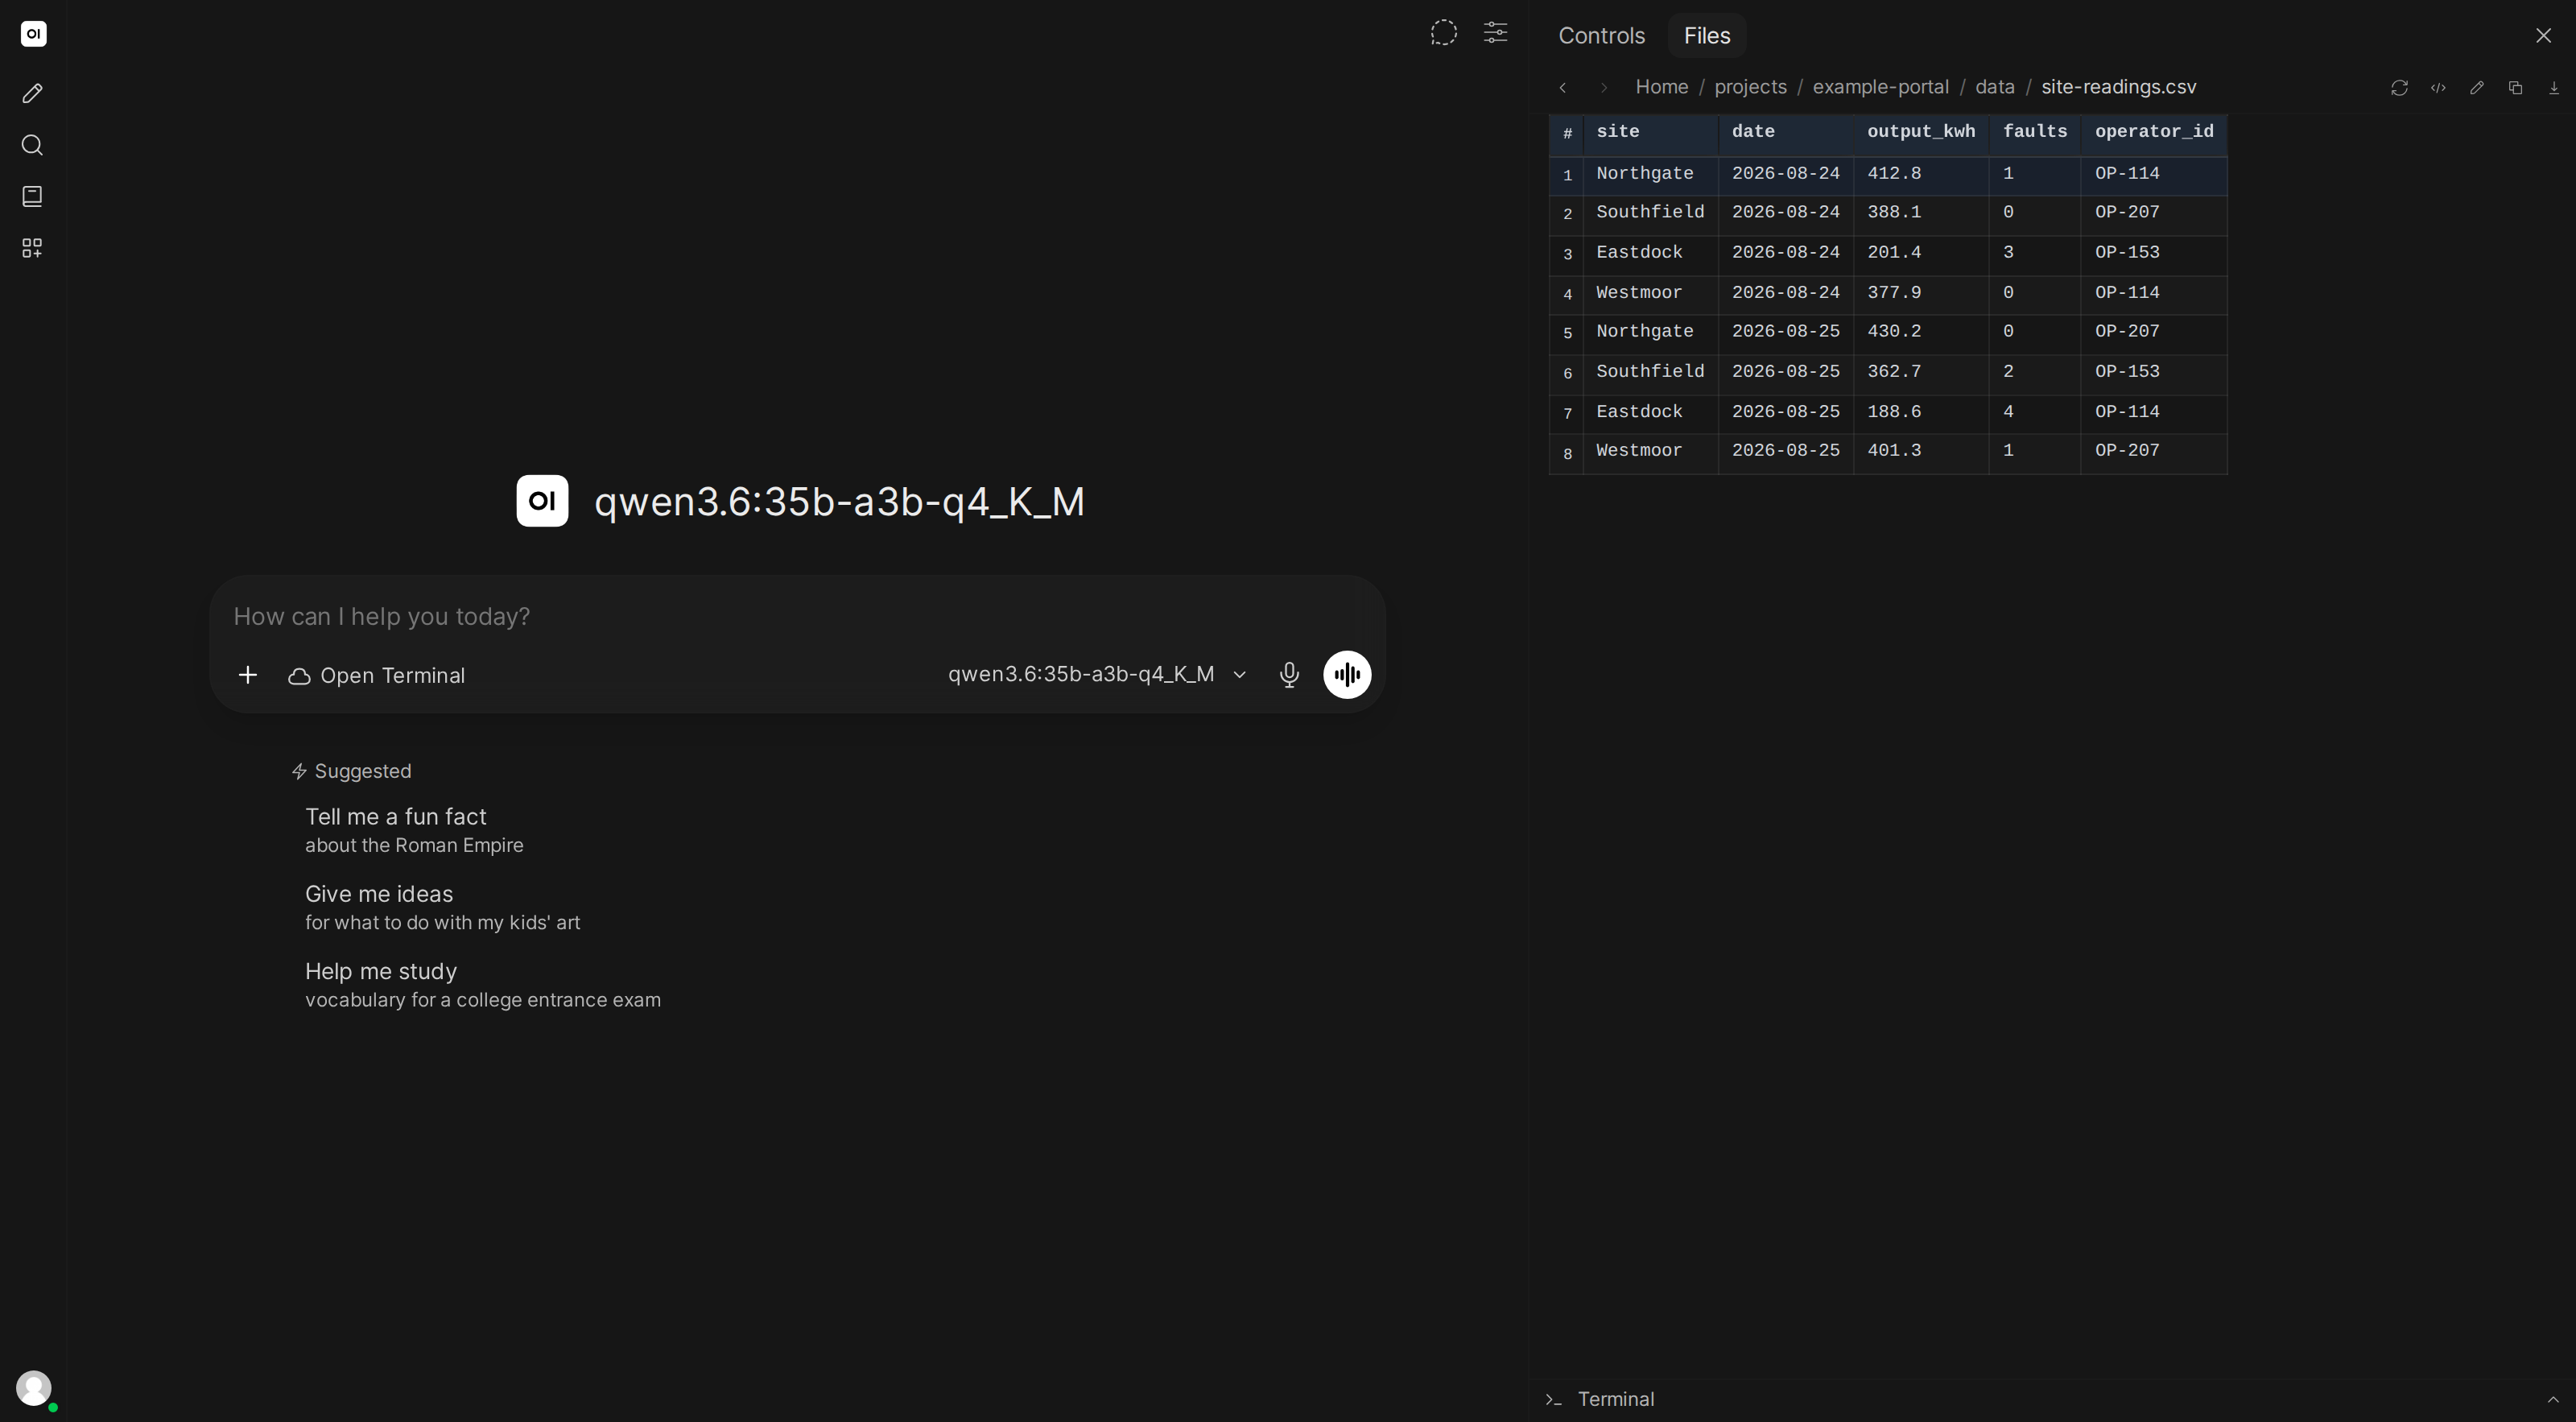
Spreadsheets (CSV, TSV)
Data files render as formatted tables with headers and clean rows, much easier to read than raw comma-separated text.
Word documents (DOCX)
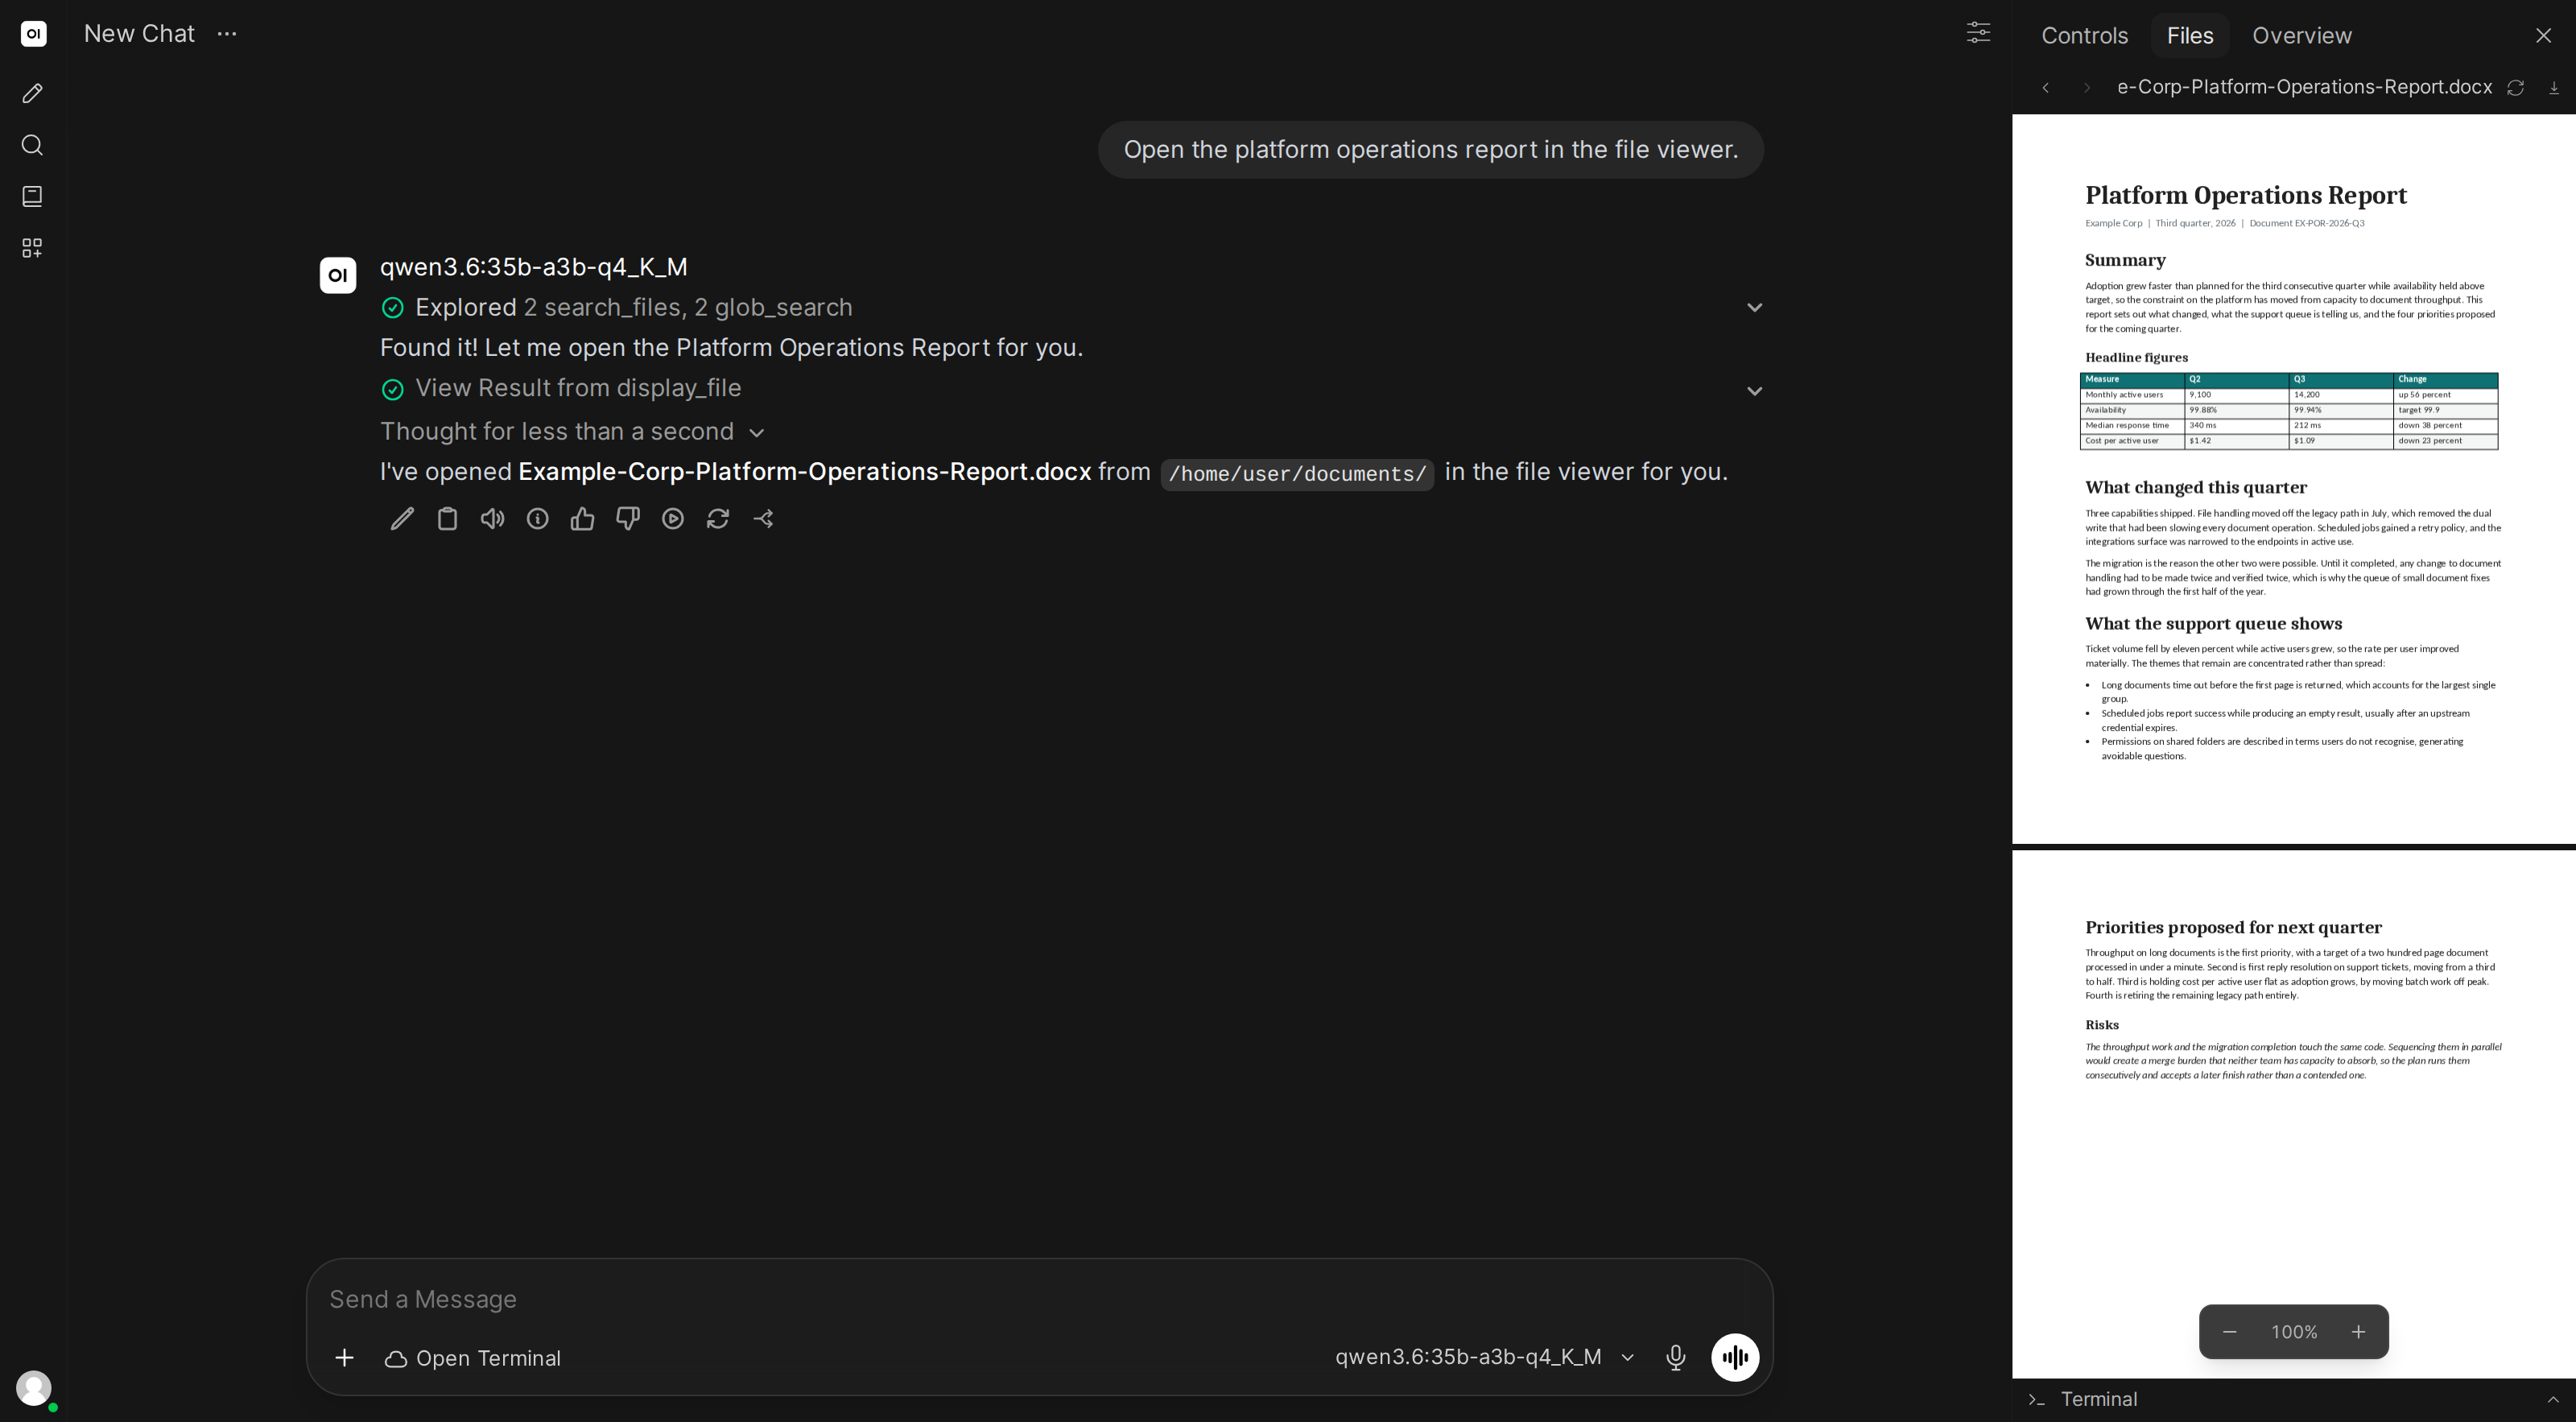
.docx files are laid out by the terminal itself, using the same engine an office suite uses, and the preview shows the finished document. What you see is what the file prints: real pagination, headers, footers, footnotes and endnotes, embedded images, fonts and spacing.
A numbered thumbnail strip of the pages runs alongside the document; click a page to jump to it. The page is scaled to fit the width of the panel. A small toolbar floats at the bottom of the preview to zoom in and out, and clicking the zoom level puts it back to where it started. Holding Ctrl (Cmd on macOS) while scrolling zooms around the pointer.
Where the terminal cannot lay the document out, the browser draws it instead and the preview says that it may differ from the download. That rendering keeps the text, tables and images without matching the exact layout. Only when that fails too does it report an error and suggest downloading the file instead.
Presentations (PPTX)
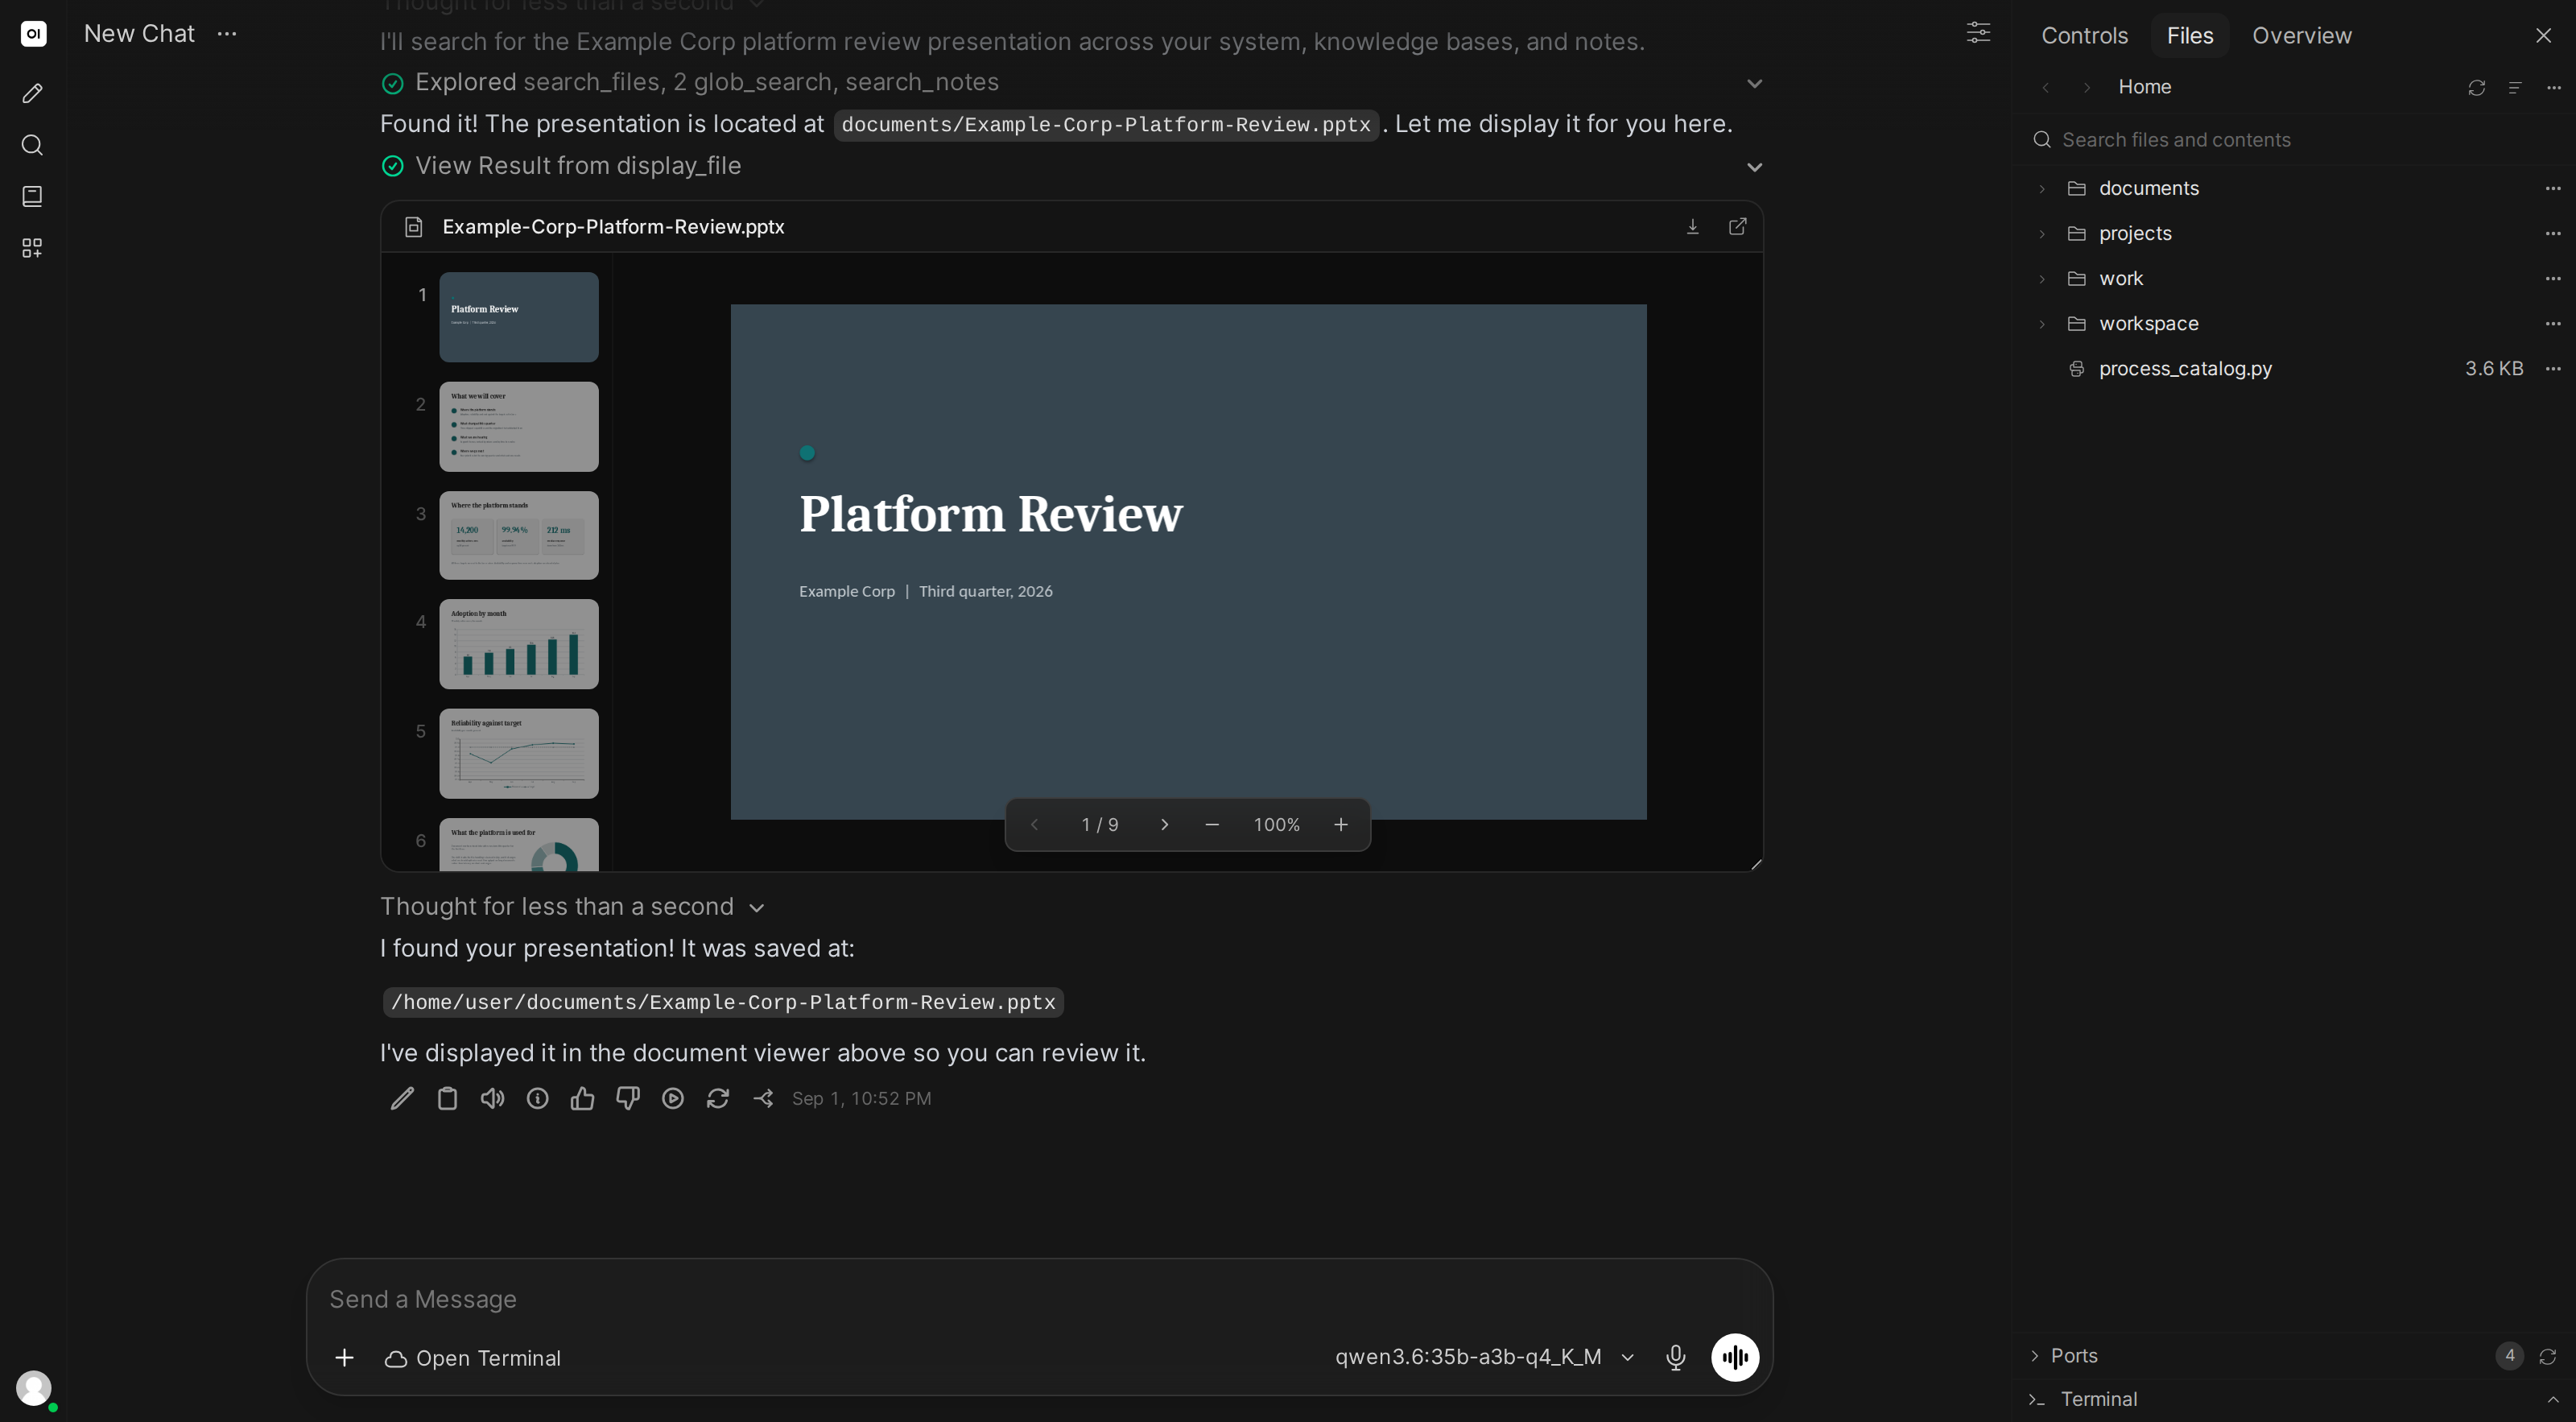
.pptx files open in a slide viewer, one slide at a time. The terminal renders the deck the same way it renders Word documents, so each slide arrives as the finished thing: backgrounds, fills, fonts, spacing and the position every placeholder takes from the layout or master.
A numbered thumbnail strip of the slides runs down the left side; click a thumbnail to jump to that slide. It is hidden on a narrow panel. The floating toolbar at the bottom steps between slides, shows which slide you are on and zooms. Scrolling pans the slide; Ctrl (Cmd on macOS) and scroll zooms; once you are zoomed in you can drag the slide around. Reset view in the toolbar above the preview, or the zoom level in the floating toolbar, puts the slide back to its fitted position.
Where the terminal cannot render the deck, the browser draws an approximation of each slide instead and the preview says that it may differ from the download. Open the file in its own application when the exact rendering matters.
Markdown
Markdown files show a rendered preview (with formatted headings, links, bold text) and a toggle to switch to raw source.
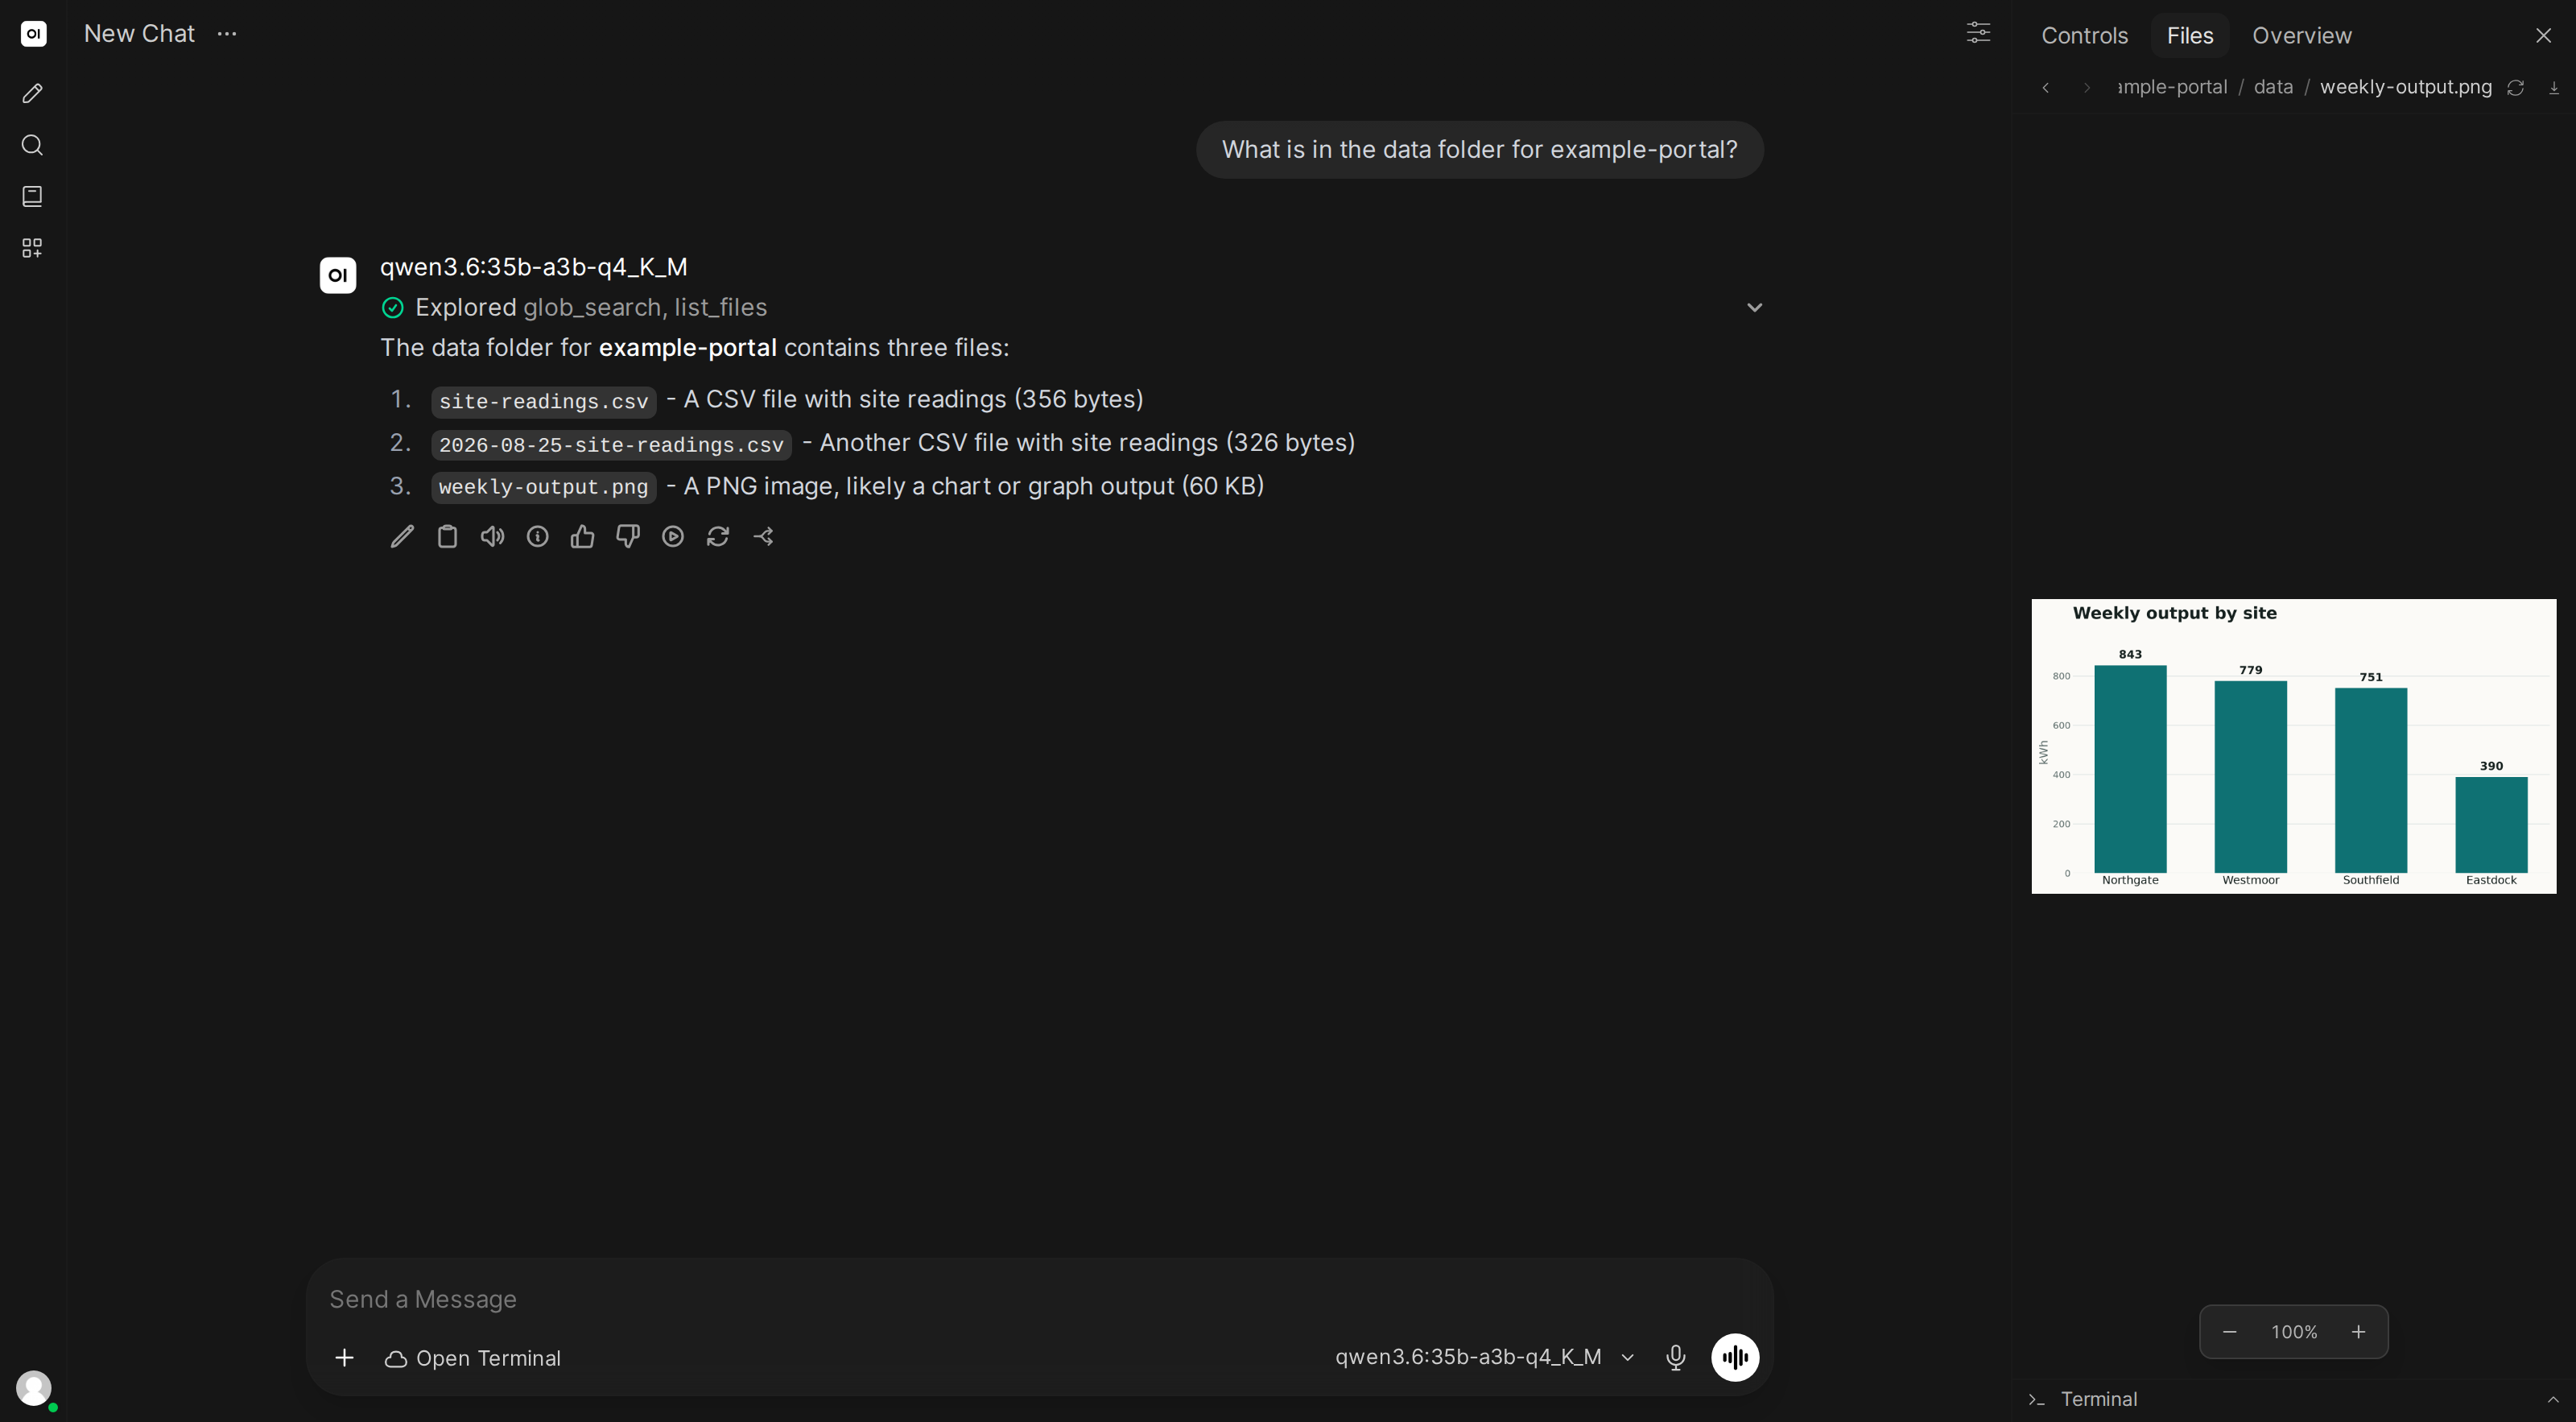
Images
Images display inline at a comfortable size.
HTML
HTML files render in a sandboxed iframe. Scripts and downloads work, but the page is given a unique origin of its own, so it cannot read cookies or localStorage, and same-origin requests back to Open WebUI fail.
That isolation is the point: a previewed file is untrusted content, and giving it your origin would let it act as you. A page that needs same-origin behaviour will fail quietly rather than with an error, which is usually the explanation when a preview looks broken but the file is fine.
If you understand the risk and need it, the per-user Settings > Interface > iframe Sandbox Allow Same Origin toggle grants it. It is off by default and applies to every embedded iframe, not just this preview. See Rich UI for the full trade-off.
Uploading files
Drag and drop files or whole folders from your computer directly onto the file browser to upload them. A folder keeps its shape: every subfolder is recreated on the terminal. Upload Folder, in the toolbar and in the right-click menu, does the same through a picker. This is how you share data with the AI: drop a spreadsheet, a PDF, an image, or any file you want the AI to work with.
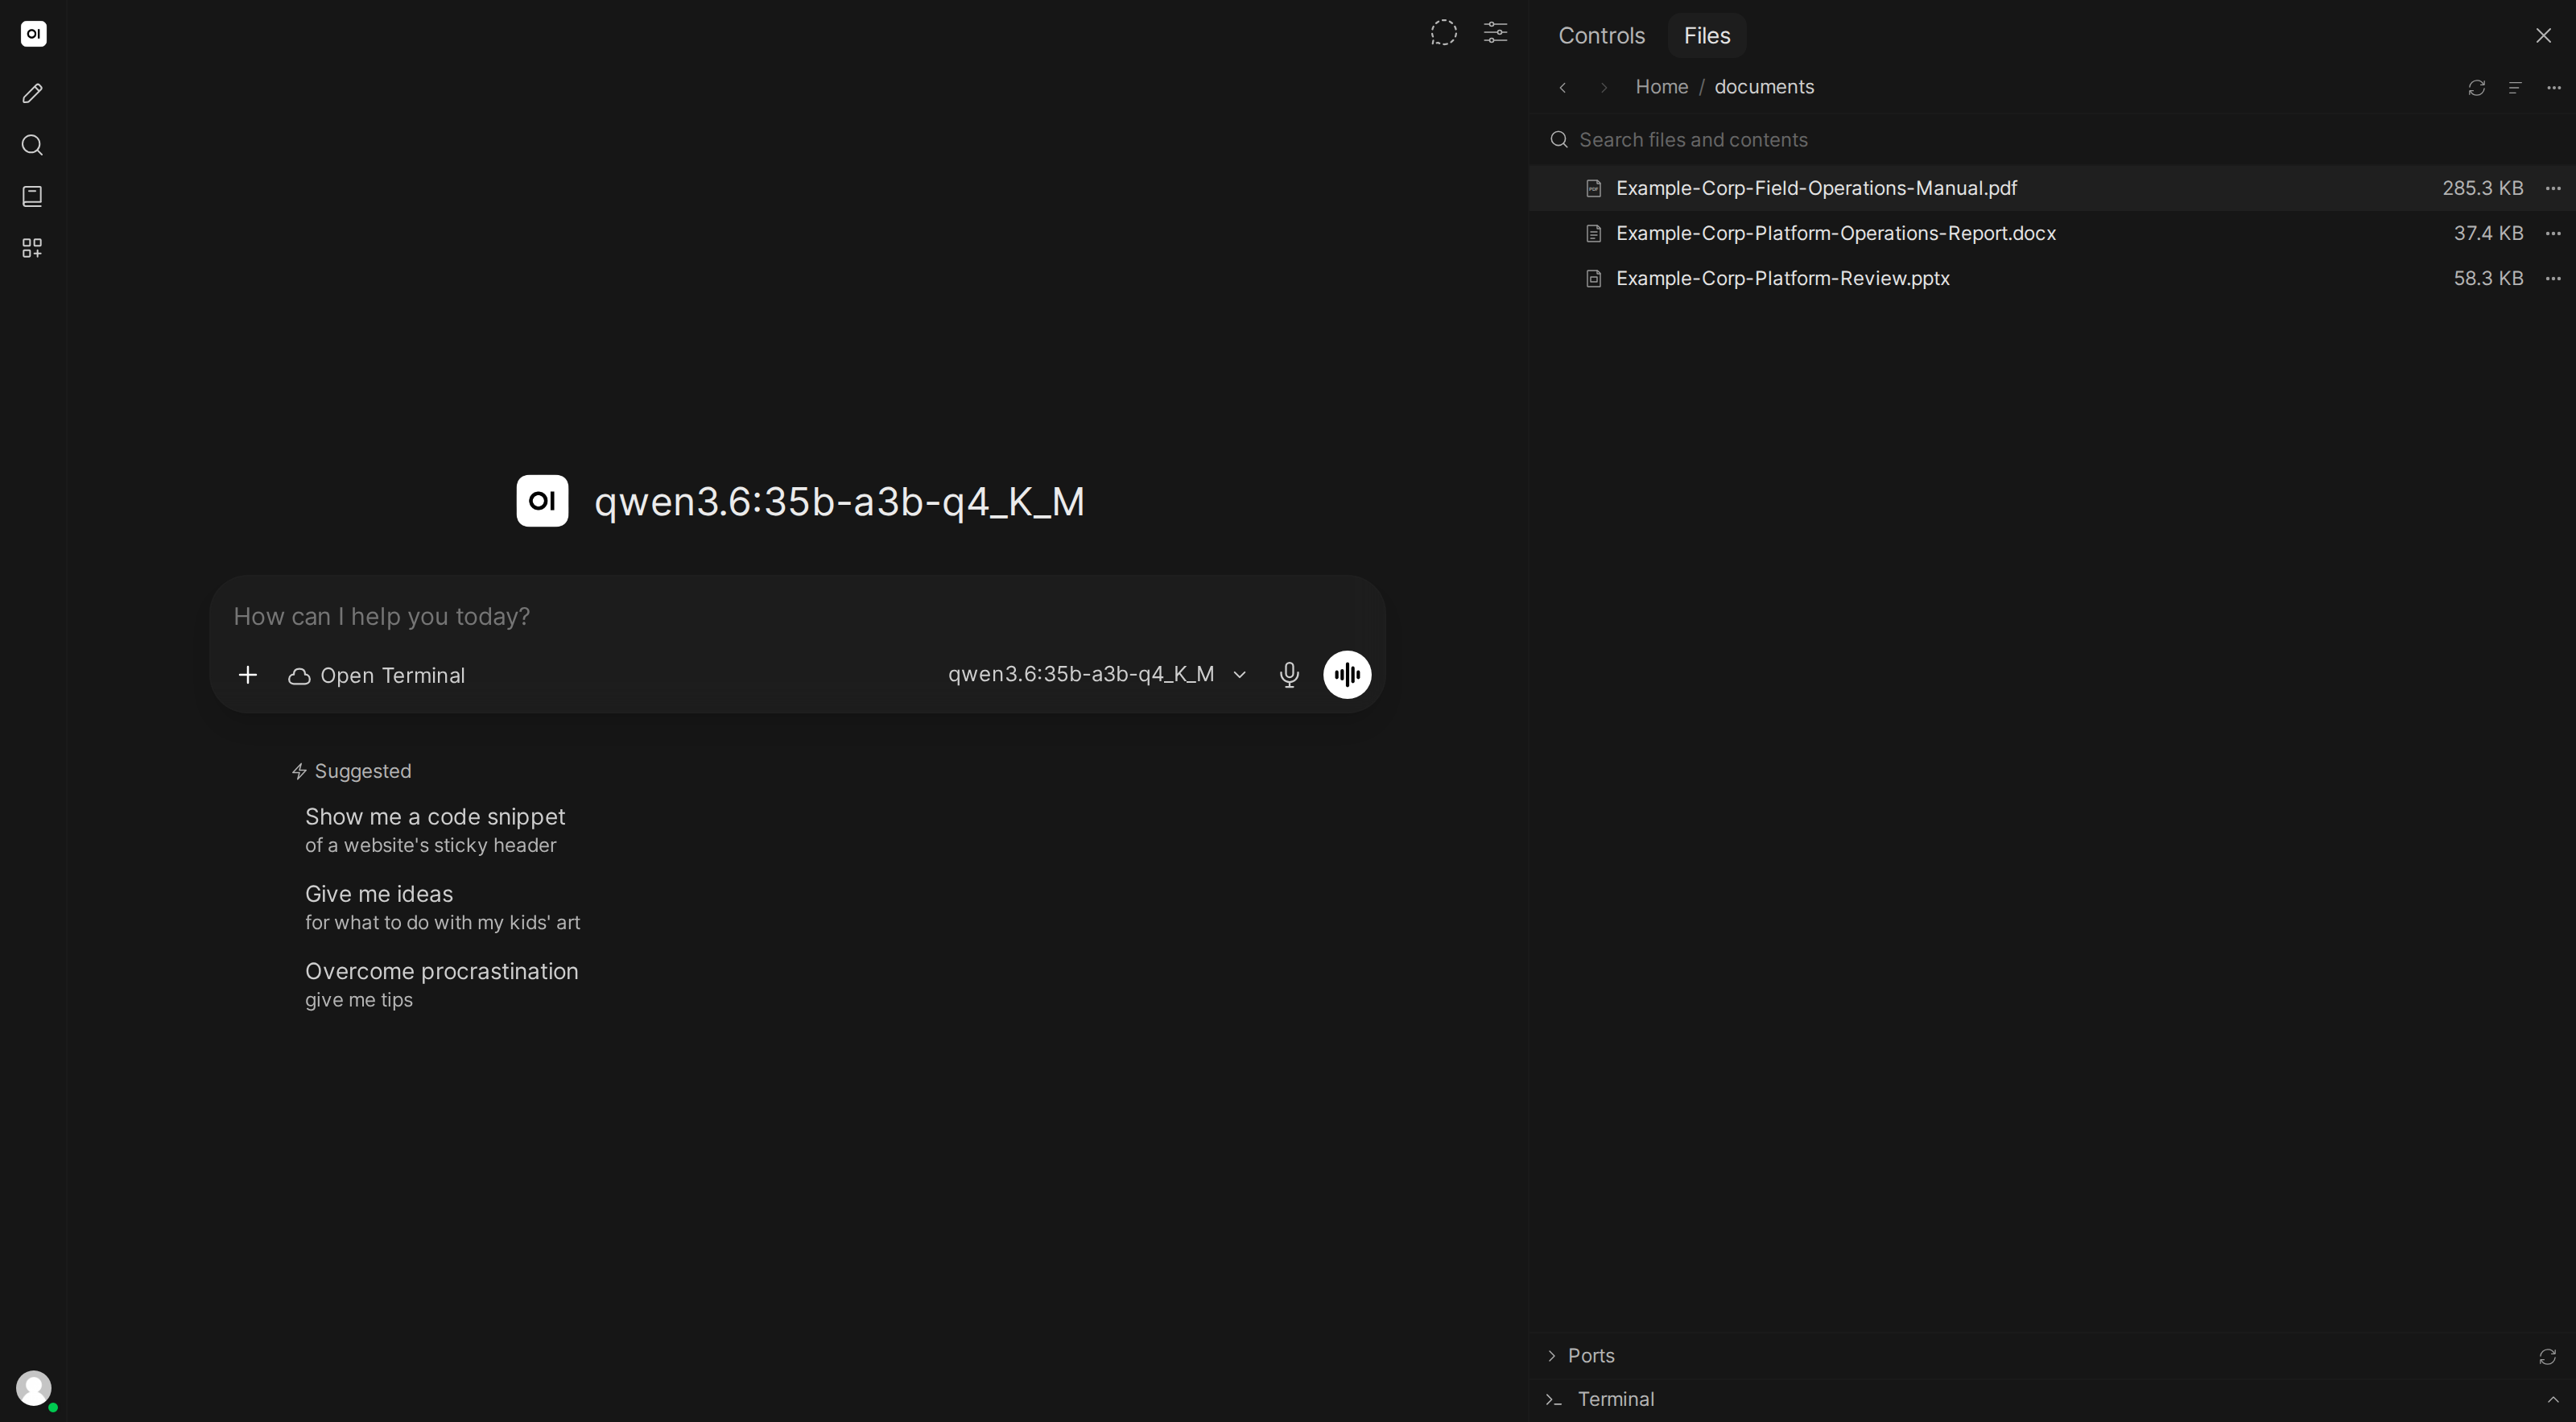
Navigate to the folder you want first, then drag and drop. The file uploads to whatever directory you're currently viewing.
Uploading is switched off in a folder marked Read-only, and dropping files onto one does nothing.
From the chat input
Files attached in the chat input normally go to Open WebUI, where their text is extracted for the model to read. An administrator can point them at the terminal instead, by setting the connection's Chat Uploads to Filesystem. Attachments then land in the current working directory and show up here like anything else, and the model opens them with the terminal's tools rather than reading extracted text. See Chat Uploads.
Comparing two files
Select two files, with the checkboxes or Ctrl-click, and pick Compare. You can also pick Select for Compare in one file's menu and then Compare with Selected in the other's. The two are shown side by side with the differences marked.
Text files open in a read-only compare view: step through the changes with the arrows, Swap sides switches which file is on the left and Refresh reads both files again. This view takes UTF-8 text files up to 2 MiB each.
Documents (PDF, Word, Excel, PowerPoint, OpenDocument and RTF files) are compared by the text extracted from them, so a Word file against a PDF, or yesterday's spreadsheet against today's, are all fair game.
Comparing documents runs on the terminal server. An older one does not offer it and the browser says "File comparison is not available on this terminal. Update Open Terminal to use Compare." See Updating.
Downloading files
Click the download button on any file to save it to your computer. This is how you get results back: after the AI generates a chart, creates a spreadsheet, processes an image, or writes a report, just download it.
Files shown in the chat message
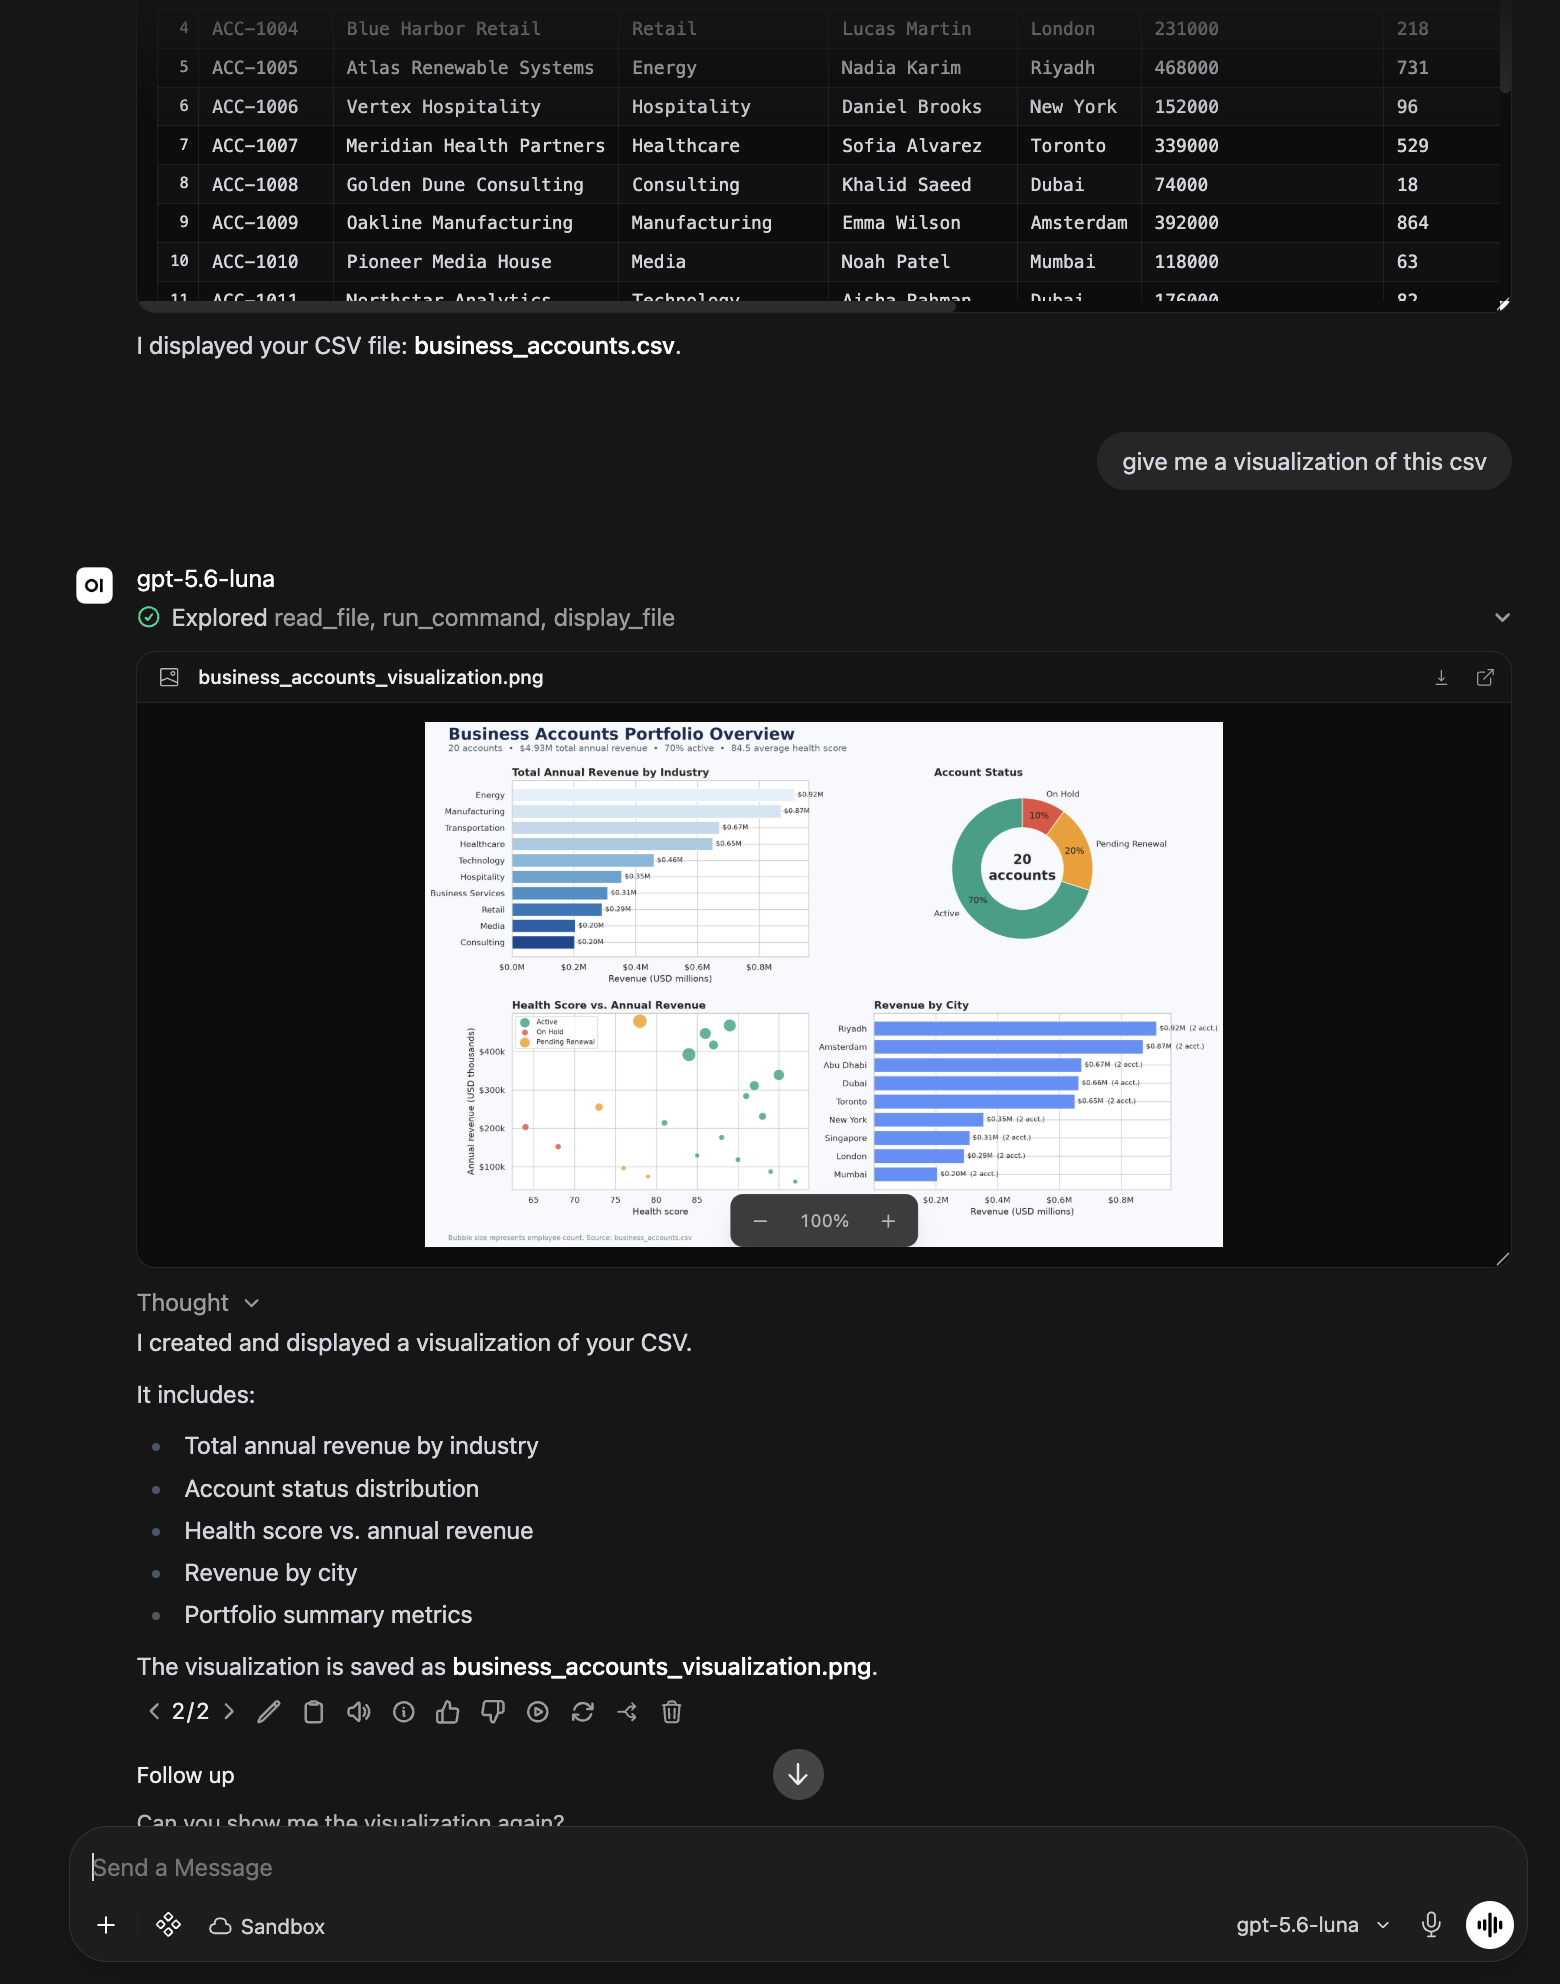
The AI can also put a file straight into its reply, rather than leaving you to find it in the browser. Ask for it to be shown in the chat and the message carries a small card with the file's name, a preview of its contents, and buttons to download it or open it in the file browser.
The preview understands the same formats the browser does, so a spreadsheet arrives as a table, an image as a picture, a PDF as pages. The card reads the file from the terminal each time it is opened, using your own access, so nothing is copied out of the terminal and no public link to it exists. It follows that a card only works while the terminal it came from is connected and selected, and reports the terminal as unavailable otherwise.
A long document can be opened at the part that matters. For a PDF, a Word document or a slide deck, the AI can name the page or slide it means, and the preview opens there rather than at the beginning. Ask for the page an answer came from and you get the document already scrolled to it, which saves hunting through a hundred pages for the paragraph the reply is quoting. The same applies when the file opens in the browser instead of in the message.
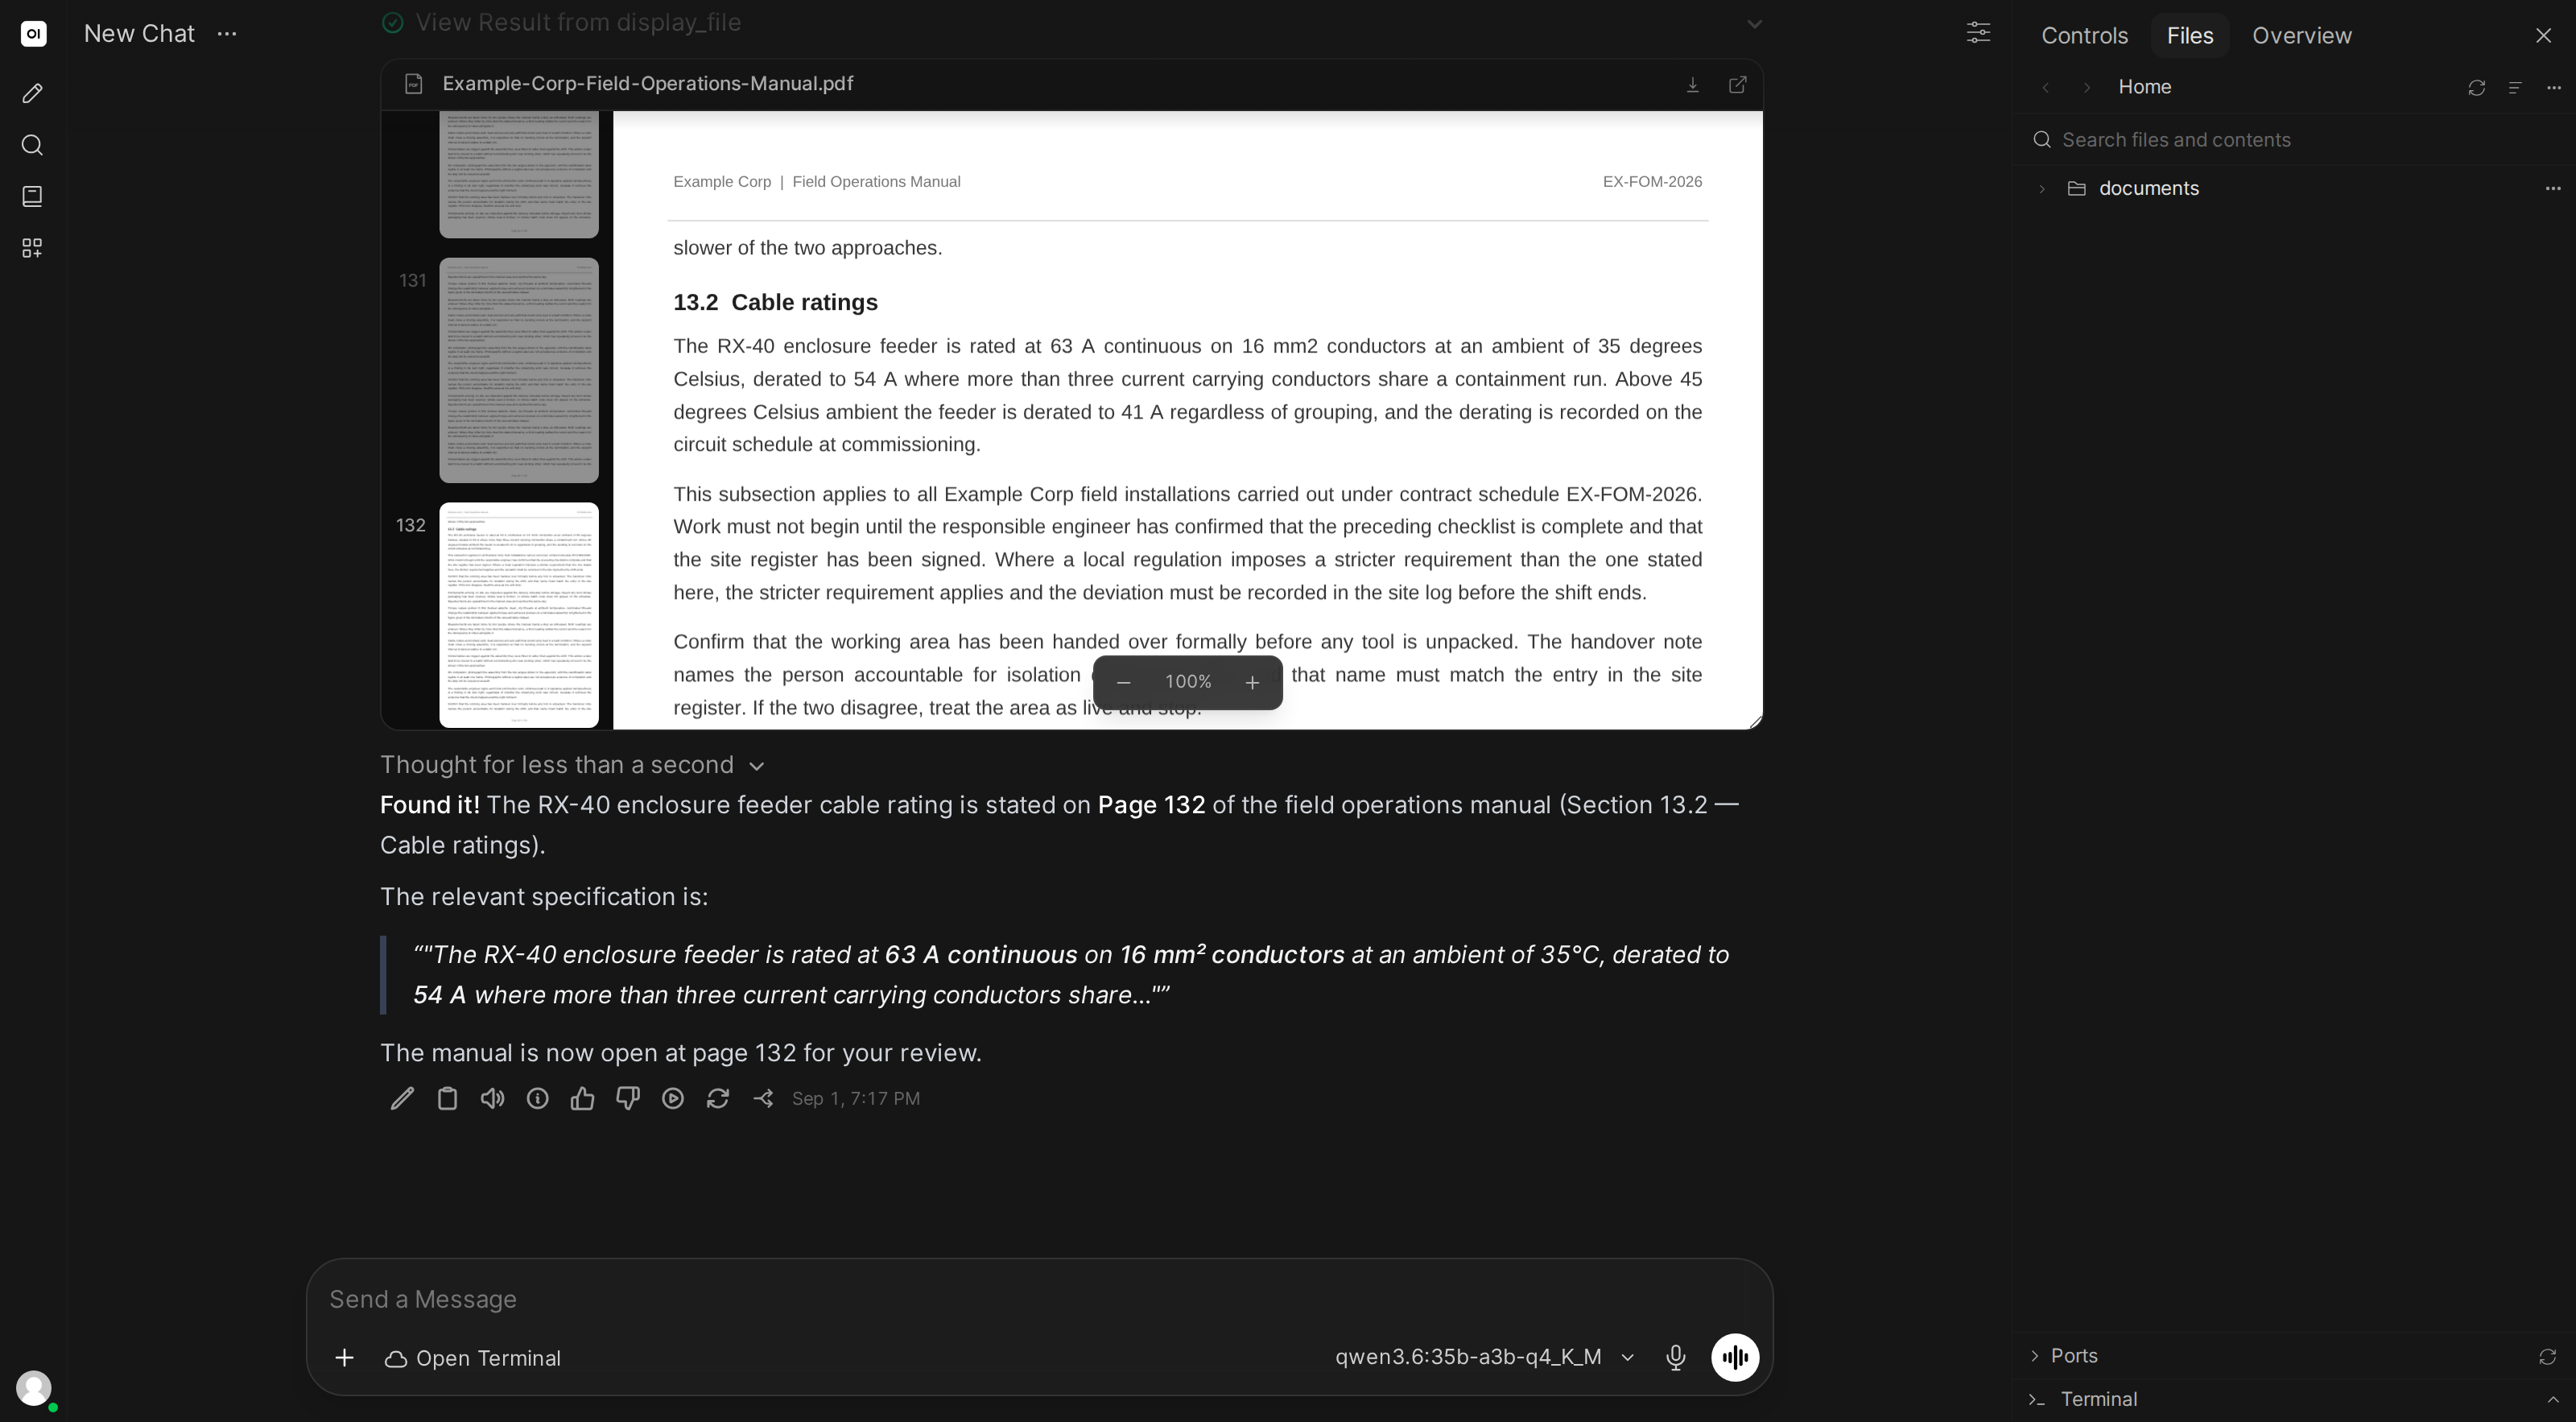
Here the AI searched a 150 page manual, quoted the specification it found, and opened the PDF at page 132 so the quote could be read in context.
It works the same way when you do not know which file to look in. Asking which document covers something searches the folder first, then opens the match at the right page.
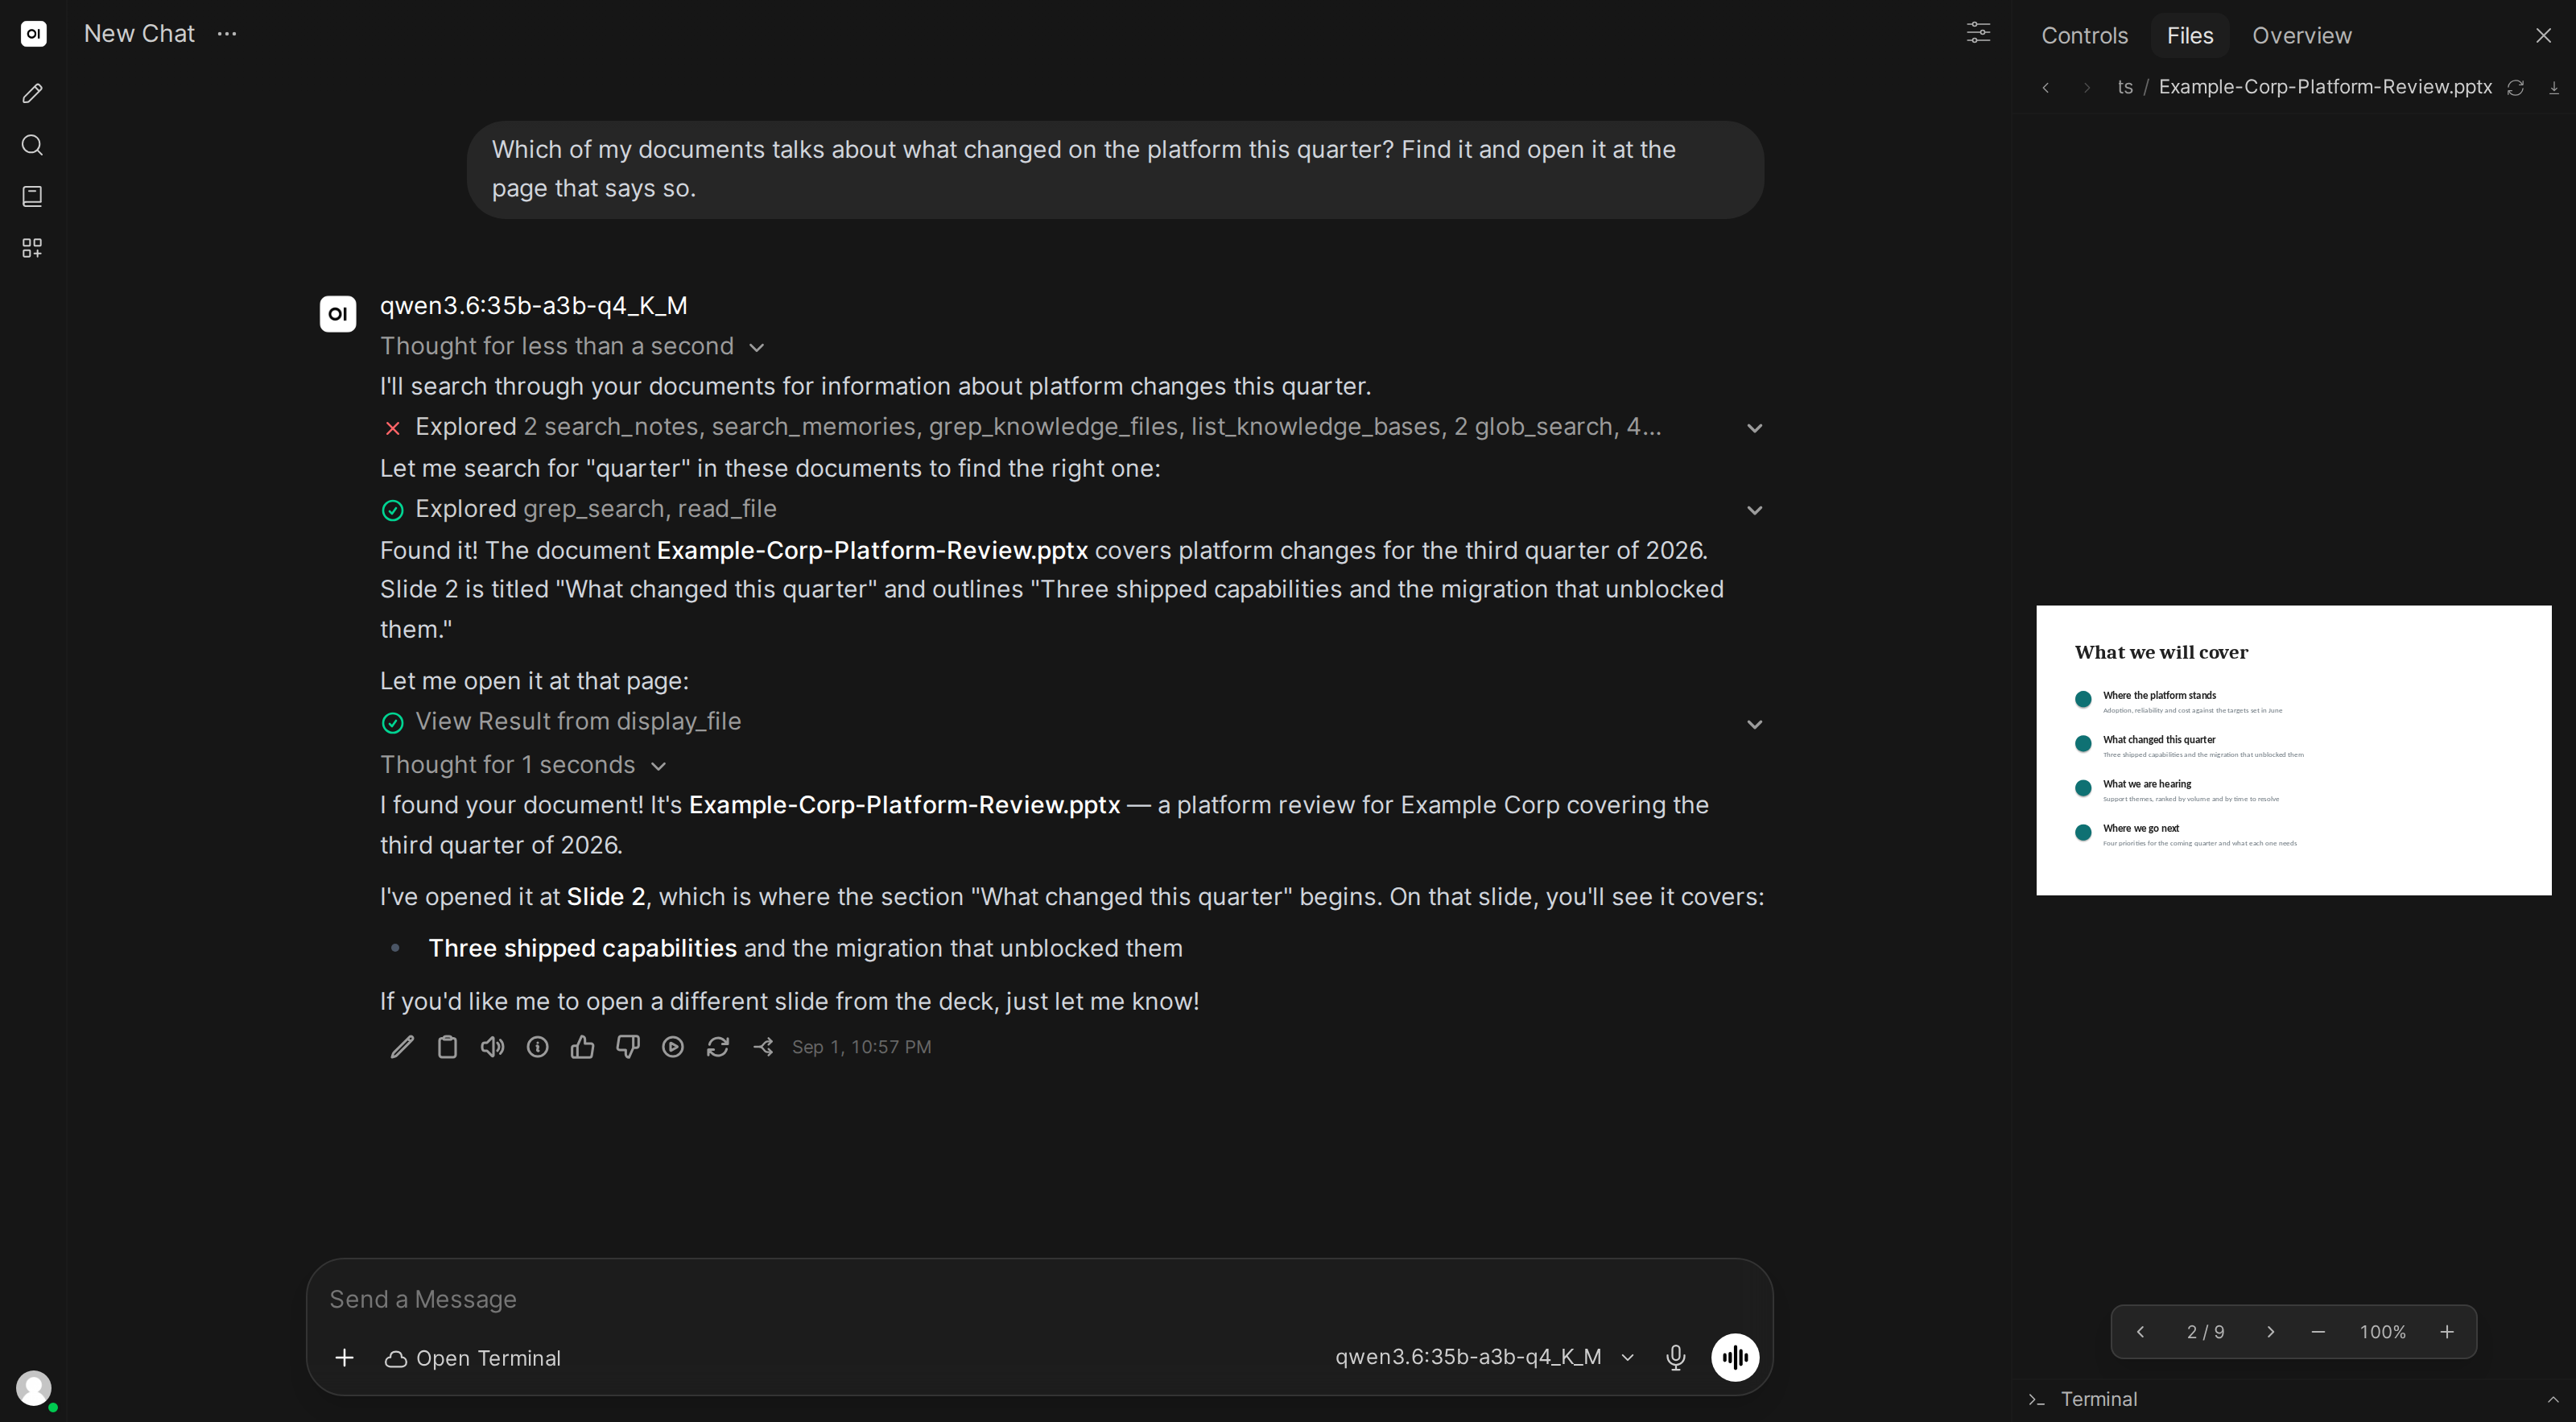
This replaces the older behaviour where a generated file produced a link in the reply that pointed at a path on the terminal's filesystem rather than at anything the browser could open.
A presentation arrives the same way, with its slide rail, page controls and zoom, so a deck can be paged through without leaving the conversation.
The card header is a toggle, so a preview can be folded down to just the filename when it is taking up too much of the reply, and image and document previews carry a zoom control and a resize handle.
By default the AI decides, and a file it shows opens in the file browser unless it asks for the card. Settings > Interface > Terminal File Display changes which one you get when the AI does not say: leave it on Sidebar for the browser, or set it to Inline to have files arrive in the message. The preference applies to terminals you connect yourself.
Editing files
Click the edit icon on any text file to open it in an editor. Make your changes and save. This is handy for quick fixes: editing a config value, correcting a typo, or tweaking something the AI generated.
Files marked Read-only cannot be edited, so the edit and save buttons stay greyed out for them.
Creating and deleting
You can create new files and folders, or delete things you don't need anymore, directly from the file browser. Both are switched off in a folder marked Read-only.
Read-only files and folders
Some files and folders cannot be changed. The file browser marks them Read-only and greys out the actions that would fail, so you find out before you try rather than after.
A folder you cannot write to is marked Read-only next to the breadcrumbs at the top. New File, New Folder and Upload are greyed out while you are in it, dropping files onto it does nothing, and nothing inside it can be renamed or deleted.
A single file or folder you cannot change is marked Read-only next to its name. Rename and Delete are greyed out in its menu, it cannot be dragged into another folder, and its preview offers no edit or save. If you select several items at once, Delete stays greyed out when any one of them is read-only.
Being read-only limits changes, nothing else. You can still browse, preview and download these files as usual.
Good to know
When the AI creates or changes files, the file browser refreshes automatically. You don't need to manually reload.
The file browser remembers which folder you were in, even when you switch between chats or terminals.
The bottom of the same sidebar holds the terminal pane: your own shell, plus a tab per command the AI runs.
If you have more than one terminal connected, switching between them in the dropdown updates the file browser to show that terminal's files.
An administrator can set an orchestrated terminal to give every conversation a workspace of its own, so the files you see in one chat are not the files you see in another. Such a terminal needs the conversation to exist first: the file browser appears once you have sent the first message, and the terminal is not offered in temporary chats at all. See Terminal Contexts.
More things to try
- Analyze documents & data →: drag in a spreadsheet or PDF and ask about it
- Run code from chat →: the AI creates files you can see here
- Build & preview websites →: the files the AI creates appear in the browser
Want to browse and edit your real files from any device? Open WebUI Computer puts your entire machine in a browser tab, with a full file browser, terminal, git, and editor.